Thursday, August 14, 2014

Body Removal and Front Suspension Assembly

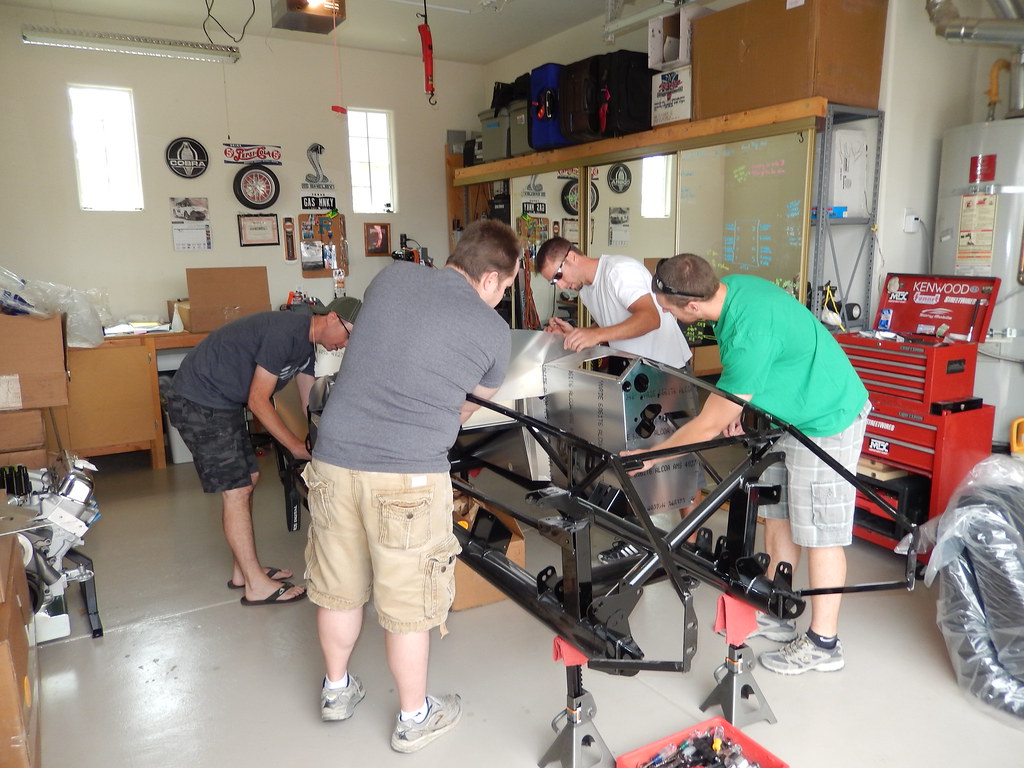
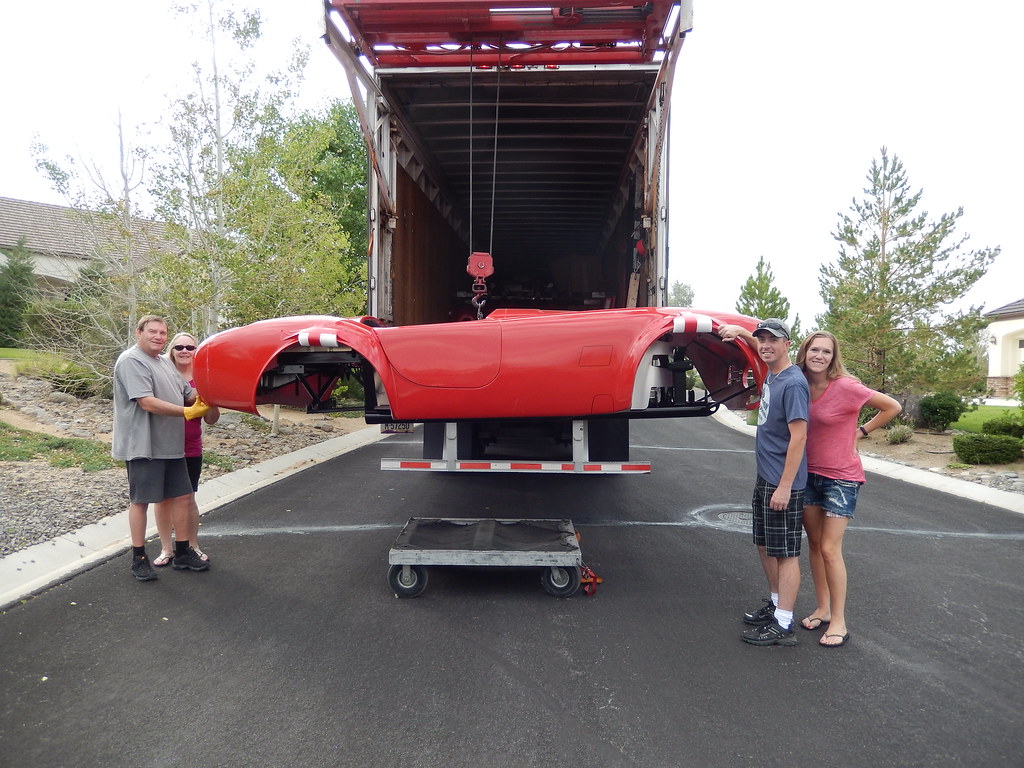
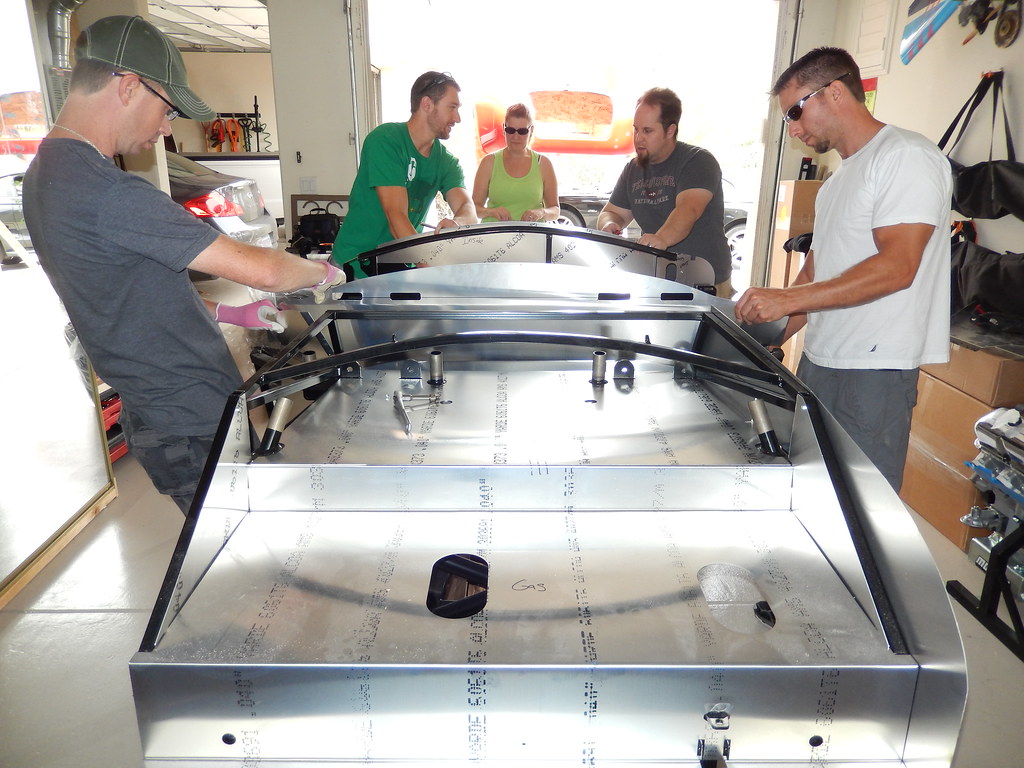
With inventory complete the first step in assembly it actually dis-assembly.  The body and aluminum panels are loosely attached to the chassis for shipping so I got a hold of some friends who were willing to come over and lend a hand.  With one of us on each corner of the body we lifted (rear first) and the body came off.
The "body buck" I built is on stilts so I can roll it in to the garage above the chassis for storage.  It was a cool idea I gleaned from other builders, but it makes a bit more challenging to place it on the buck.  Me and another friend actually sliced are fingers pretty good so I bought some extra gloves for next time.
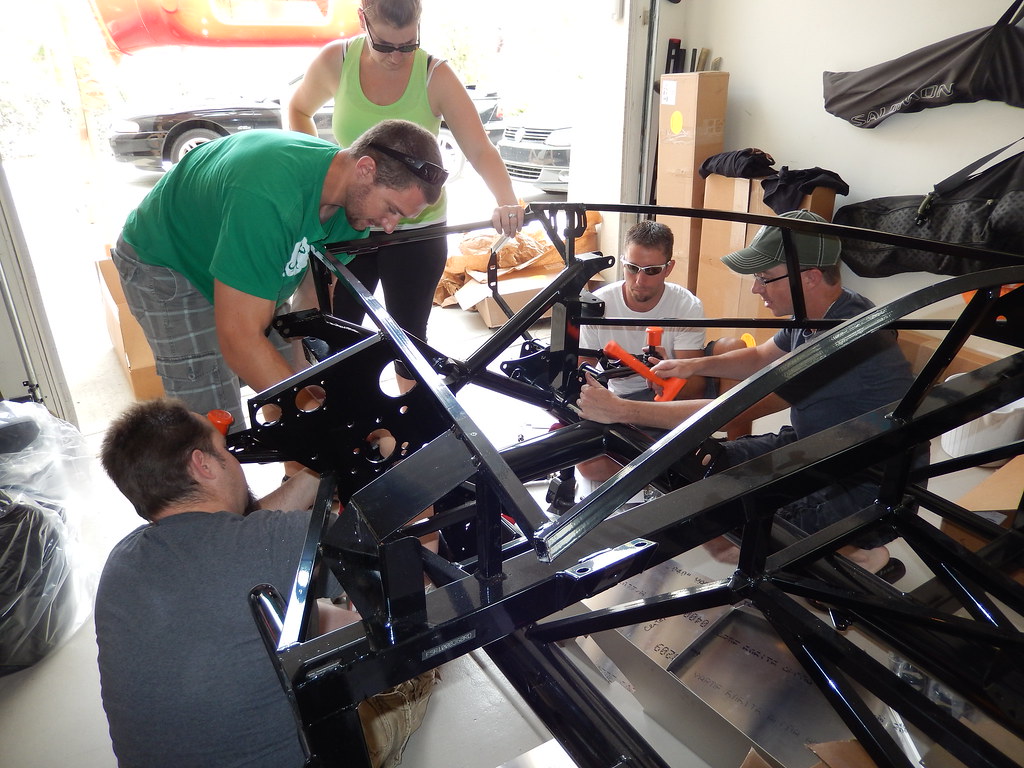
Since taking the body off took all of 5 minutes... We decided to remove the aluminum panels as well.  3 of us with markers labeling the pieces and a couple with nut drivers and ratchets made pretty quick work of that too so... why not start assembling the front end.

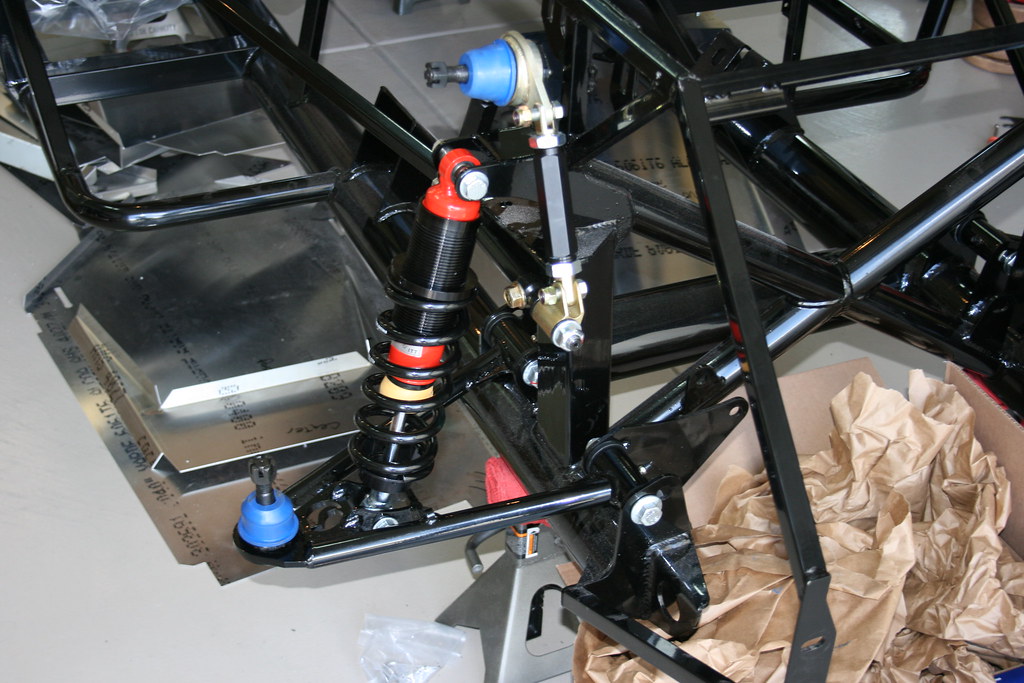
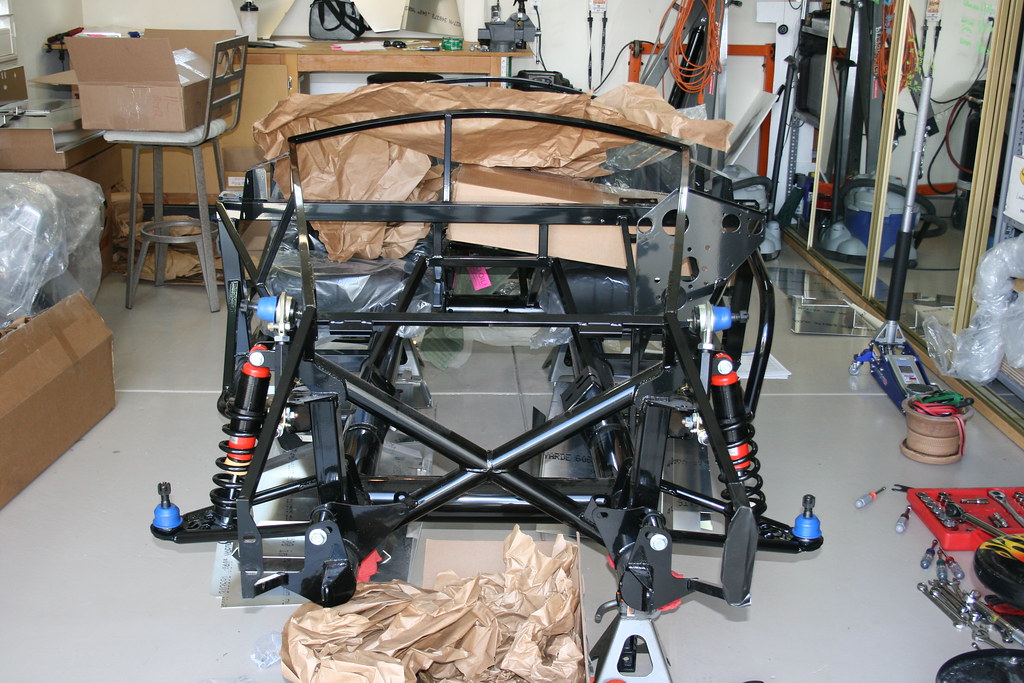
So we grabbed some pizza for lunch and assembly began.  We actually got everything together to the point were the first back ordered part stopped us.  The spindles were missing, but we got the rest of it loosely assembled.

Inventory

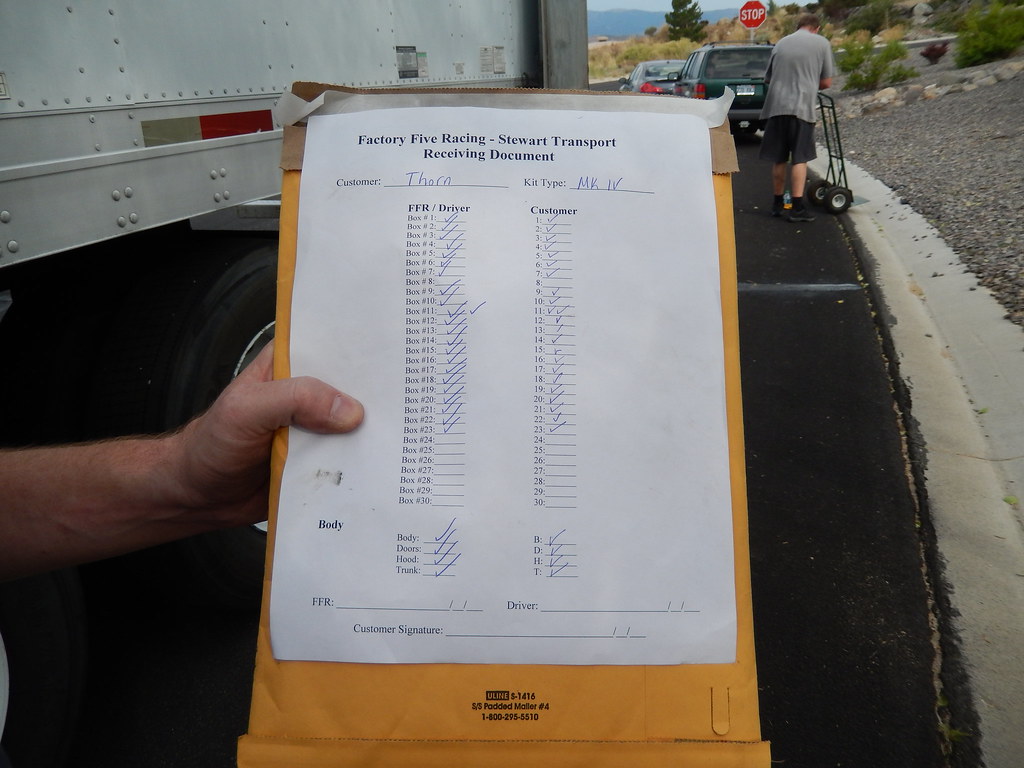
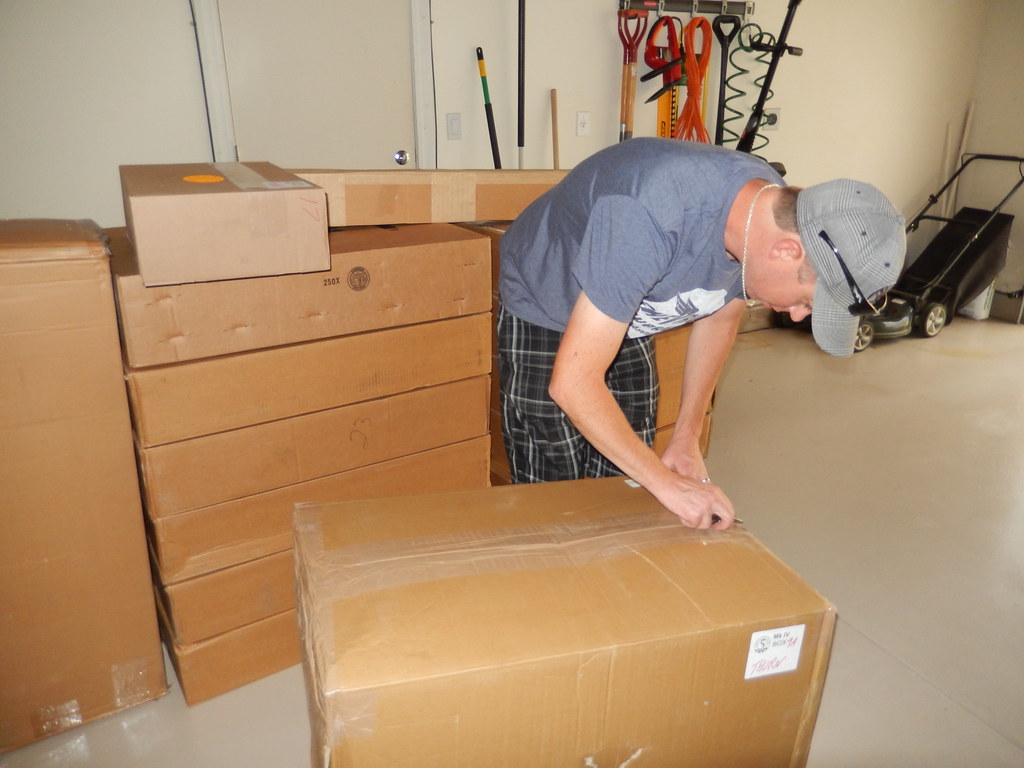
With the makings of a car in the garage inventory began.  It took a few days to go though every box (~23) and count nearly every nut and bolt.  Just about everything was there.  Some items we're known to be missing and are on back order.  A few other things were just plain missing.  No big deal though Factory Five has been awesome about shipping the missing parts.  One funny thing though was that there were no front brake components on the packing list or in any of the boxes.  Called up Factory Five and sure enough they complete spaced it all together.  They will be here next week.
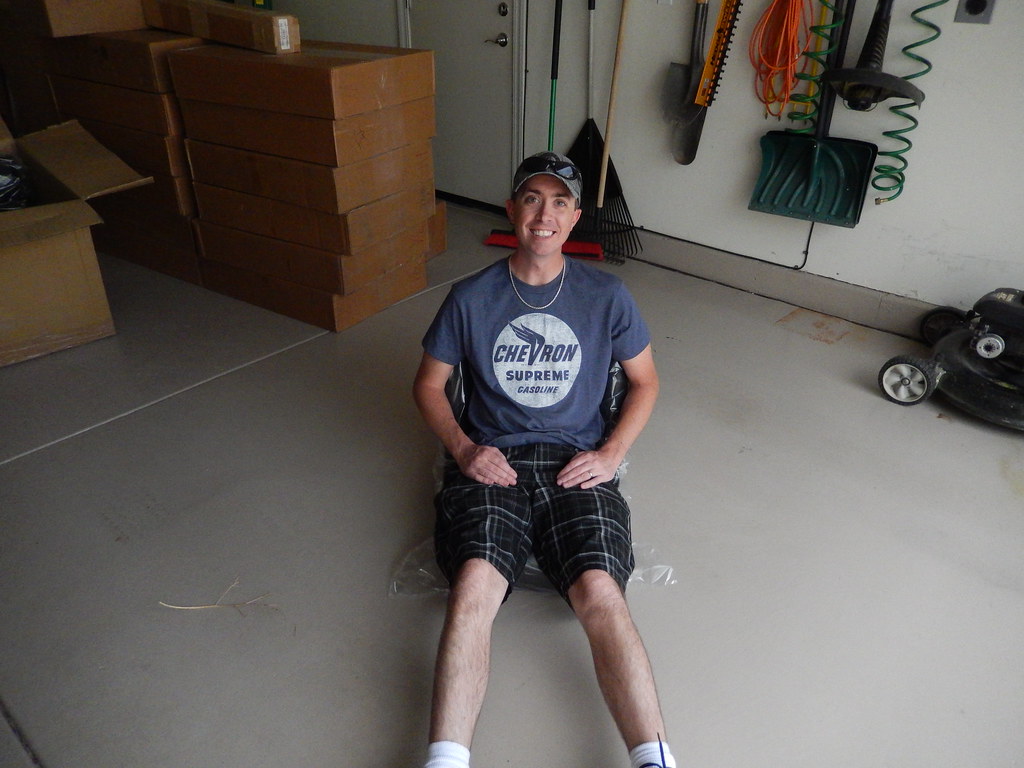
Just had to test out a seat :)

Tuesday, August 12, 2014

Building the Roadster


The MKIV arrived on Sunday July 27th.  Jim from Stewart Transport was the driver.  He was a bit concerned about maneuvering the trailer in the neighborhood so I met him at a local parking lot and showed him the roads up to the house.  He was good with getting the truck up there and turned around so I dropped him back off at his truck and he followed me up the hill to the house.
My wife and her parents helped us get all the boxes unloaded first.  Then Jim hooked the car up to he crane and set it down on the dolly.  We pushed it up the driveway and in to the garage.  Jim just lifted the body and frame while we slid the jack stands under it.

Monday, August 11, 2014

I got a bunch of parts I need for the build.  I ordered the wheels from Levy Racing and everything between the crankshaft and the drive shaft from Fortes Parts Connection.  It took the wheels and tires a bit longer than expected to arrive, but they finally did.
With these parts, now I basically have all the major parts I'll need to complete the kit.  Now it's just a matter of waiting for it to arrive.

Sunday, April 27, 2014

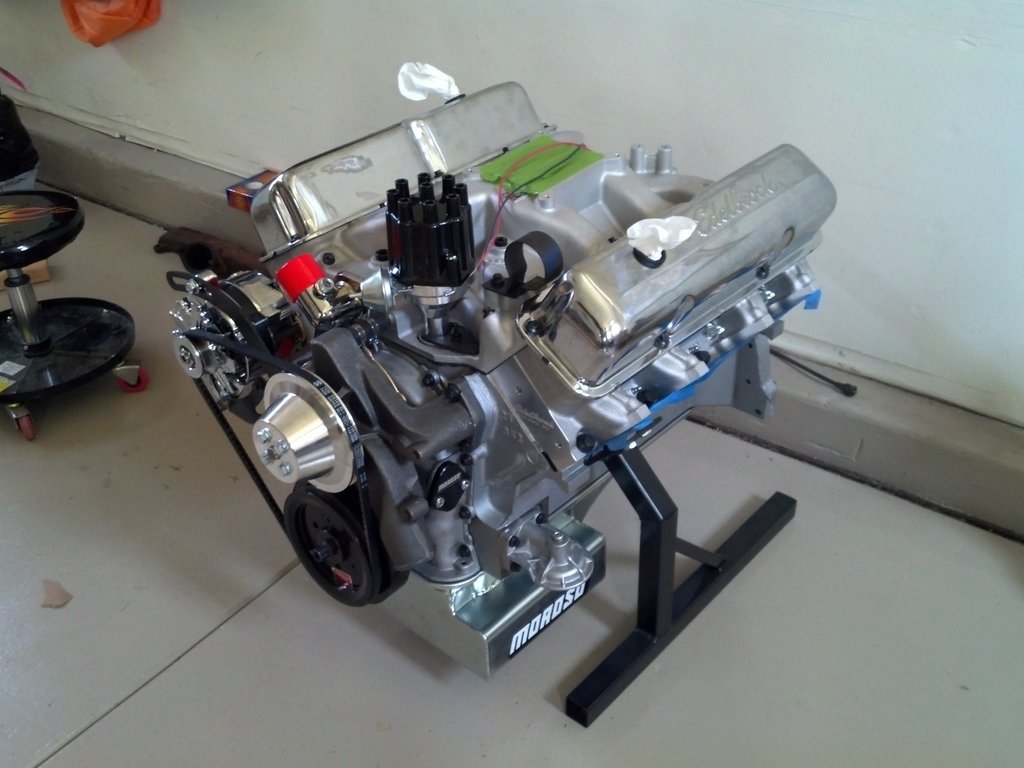
Engine is basically done. Order is placed.

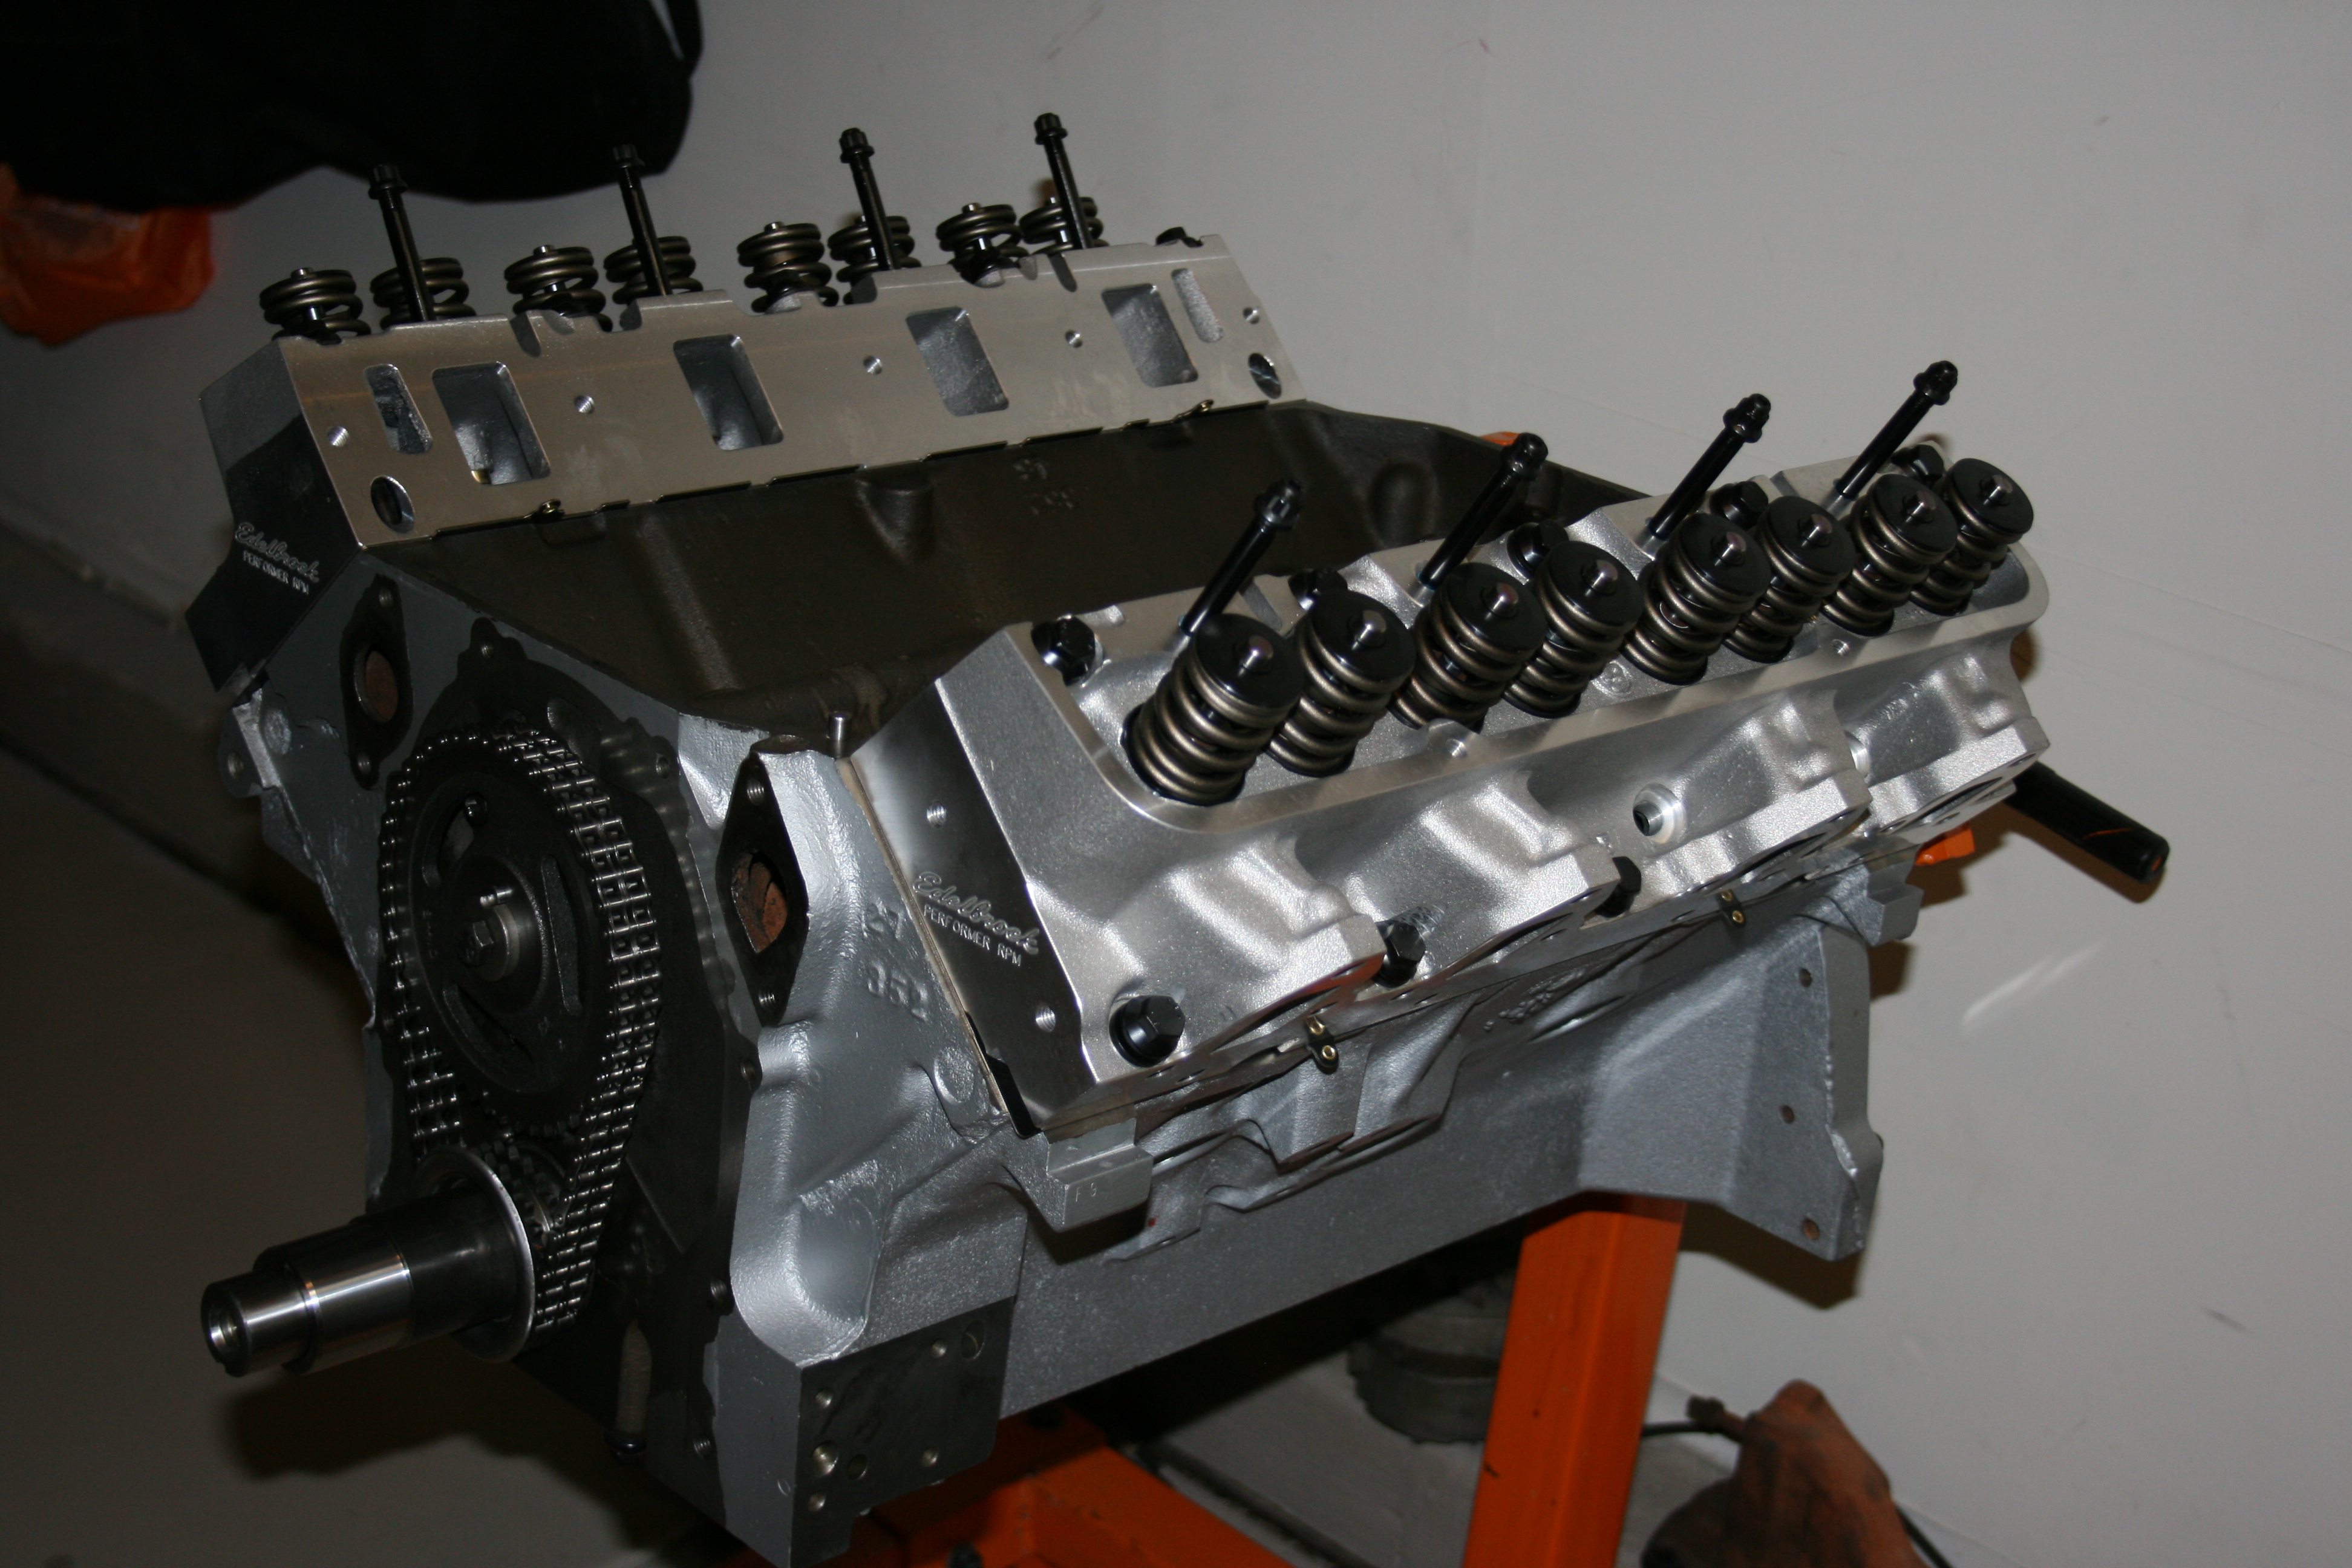
Well the engine is basically finished.  Carburetor and air cleaner will get installed once I know how much room I have under the hood.
I tried some Evaporust in the coolant passages in the engine and it actually worked really well although I think most of the rust was just surface rust.
 I also got a rear end from an old 1990 Thunderbird Supercoupe out at pick-n-pull.  It actually had positraction and 3.27 gears in it so I probably could have just used it but...  I decided to have the whole thing completely rebuilt.  Now it's got 3.31 gears and a TrueTrac differential.  I had Driveline and Gear do the rebuild for me since there are a few specialty tools required.  When I got it back I decided to paint it black.  Looks brand new now and it basically is.

I also sold the motorcycle last week.  With that sold and a lot of the odds and ends figured out I decided to pull the trigger last Wednesday and order the kit!  I'm hoping it'll be here around the end of July.  I've built a carrier for the body to rest on while I'm assembling the frame and suspension.  So now all that's left to do is wait.  It's going to be a long few months.

Tuesday, February 25, 2014

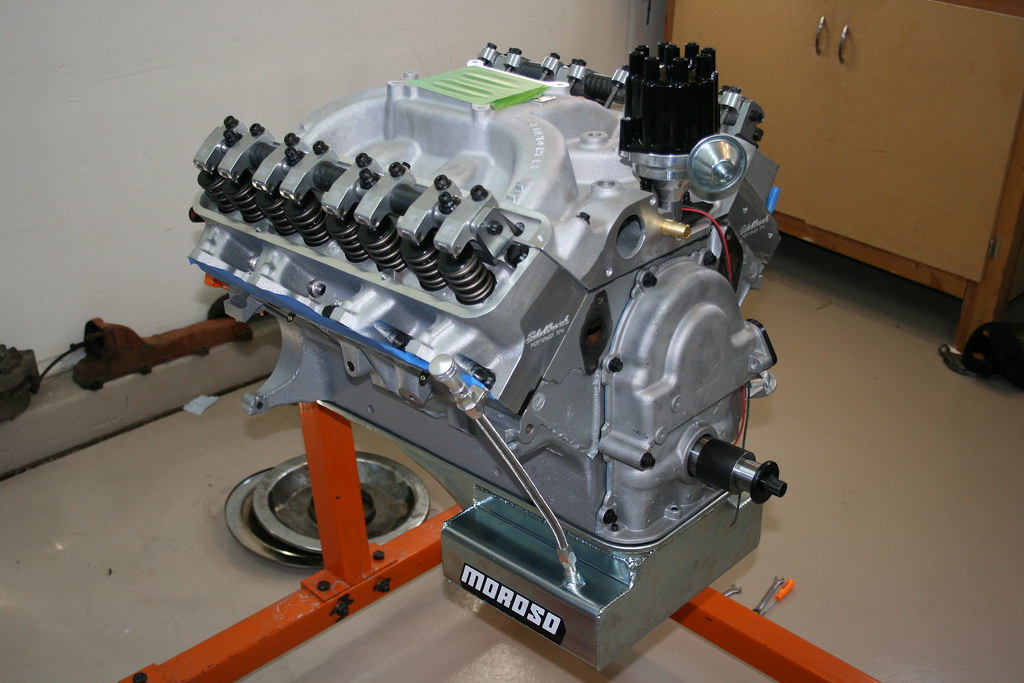
Intake installed

I got the intake manifold installed and torqued down, all the lifters installed, pushrods, and the valves lashed.  Lindy and Cody helped me get the intake torque sequence right so if it leaks I can blame it on them. :)
Next steps are harmonic balancer, water pump, carburetor, alternator, valve covers...  the list goes on and on.
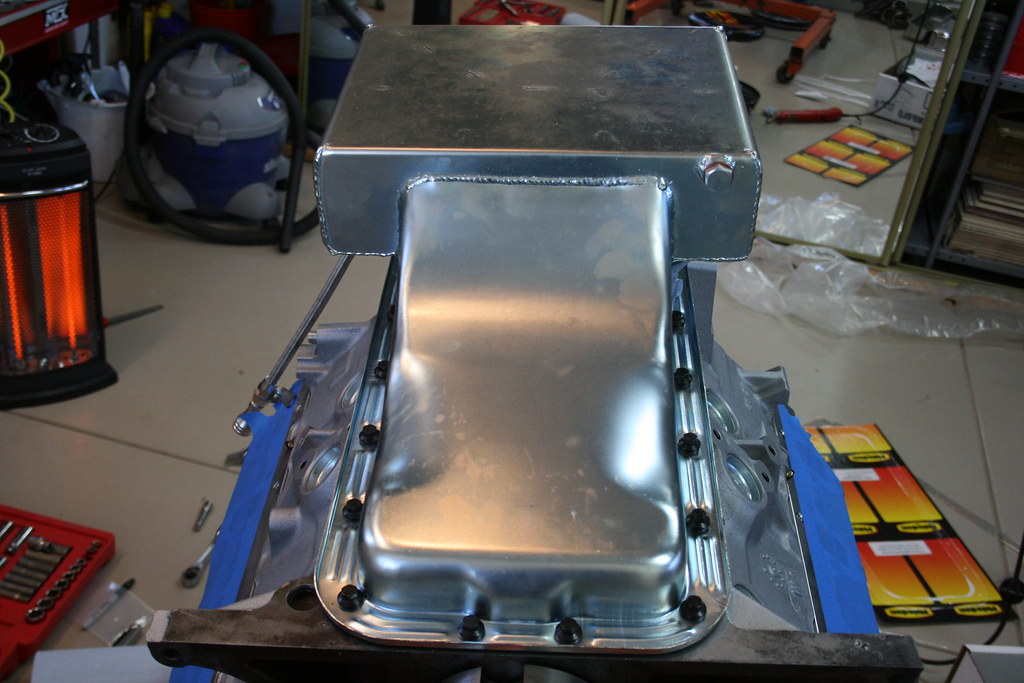
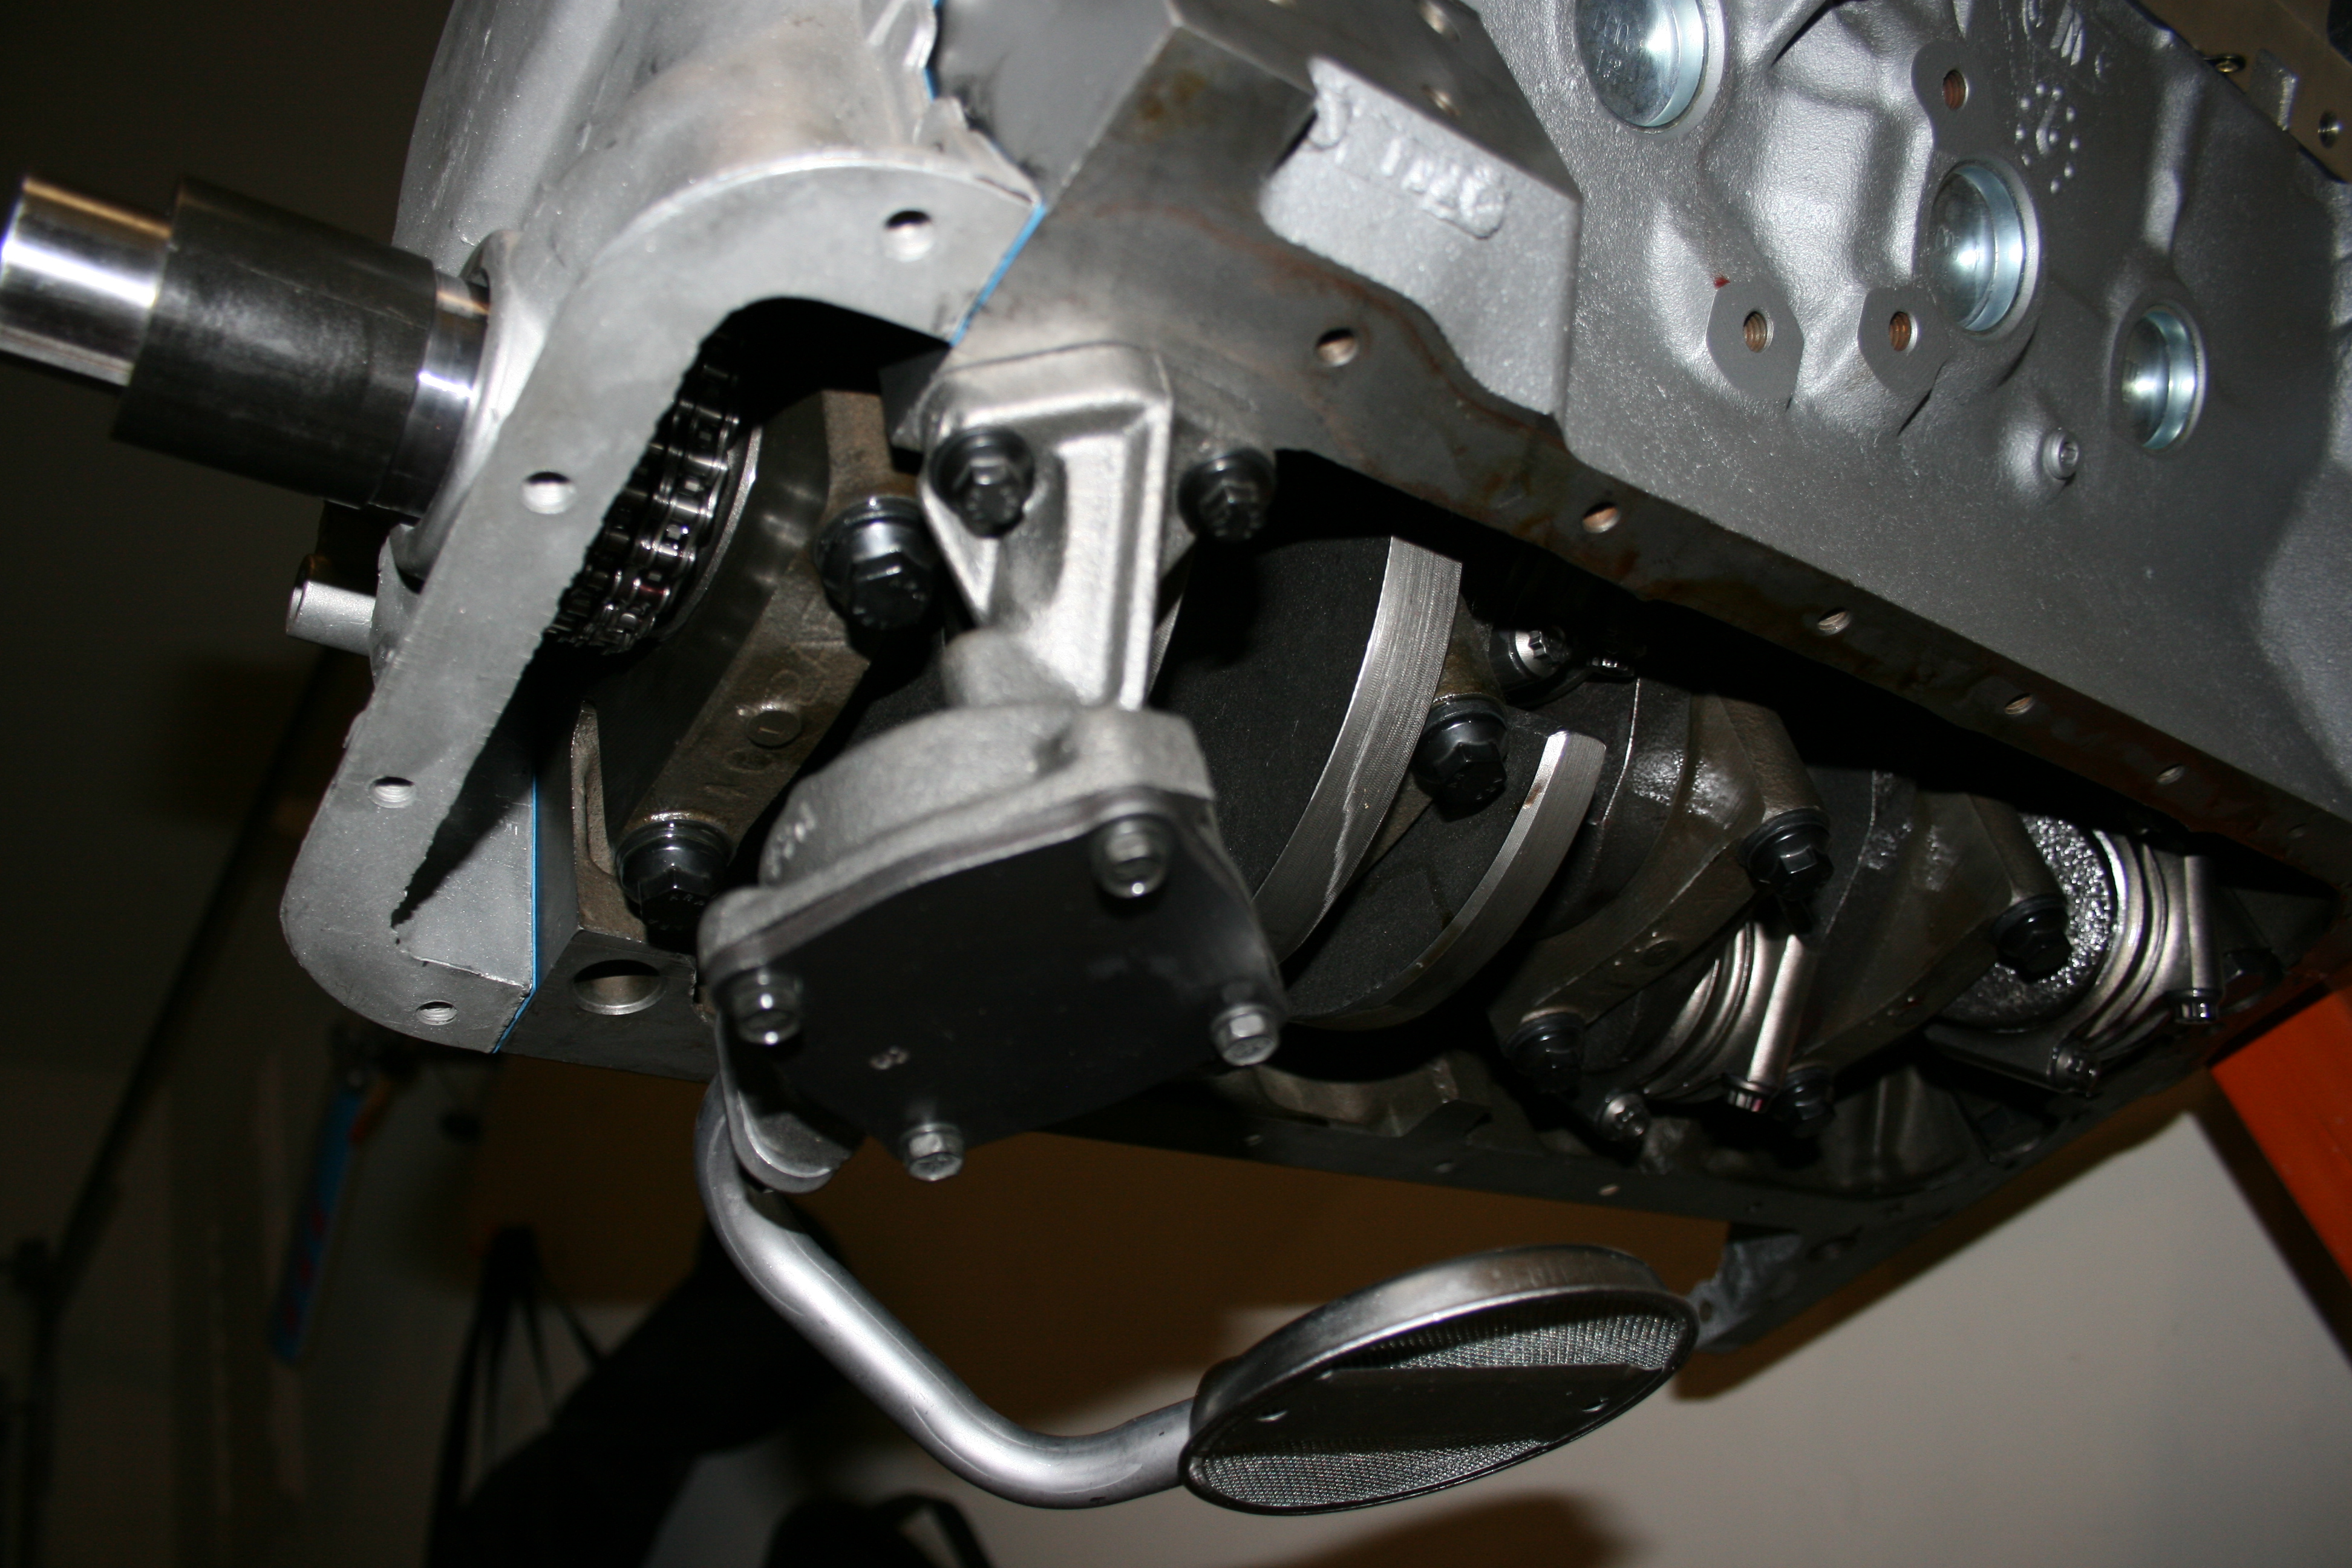
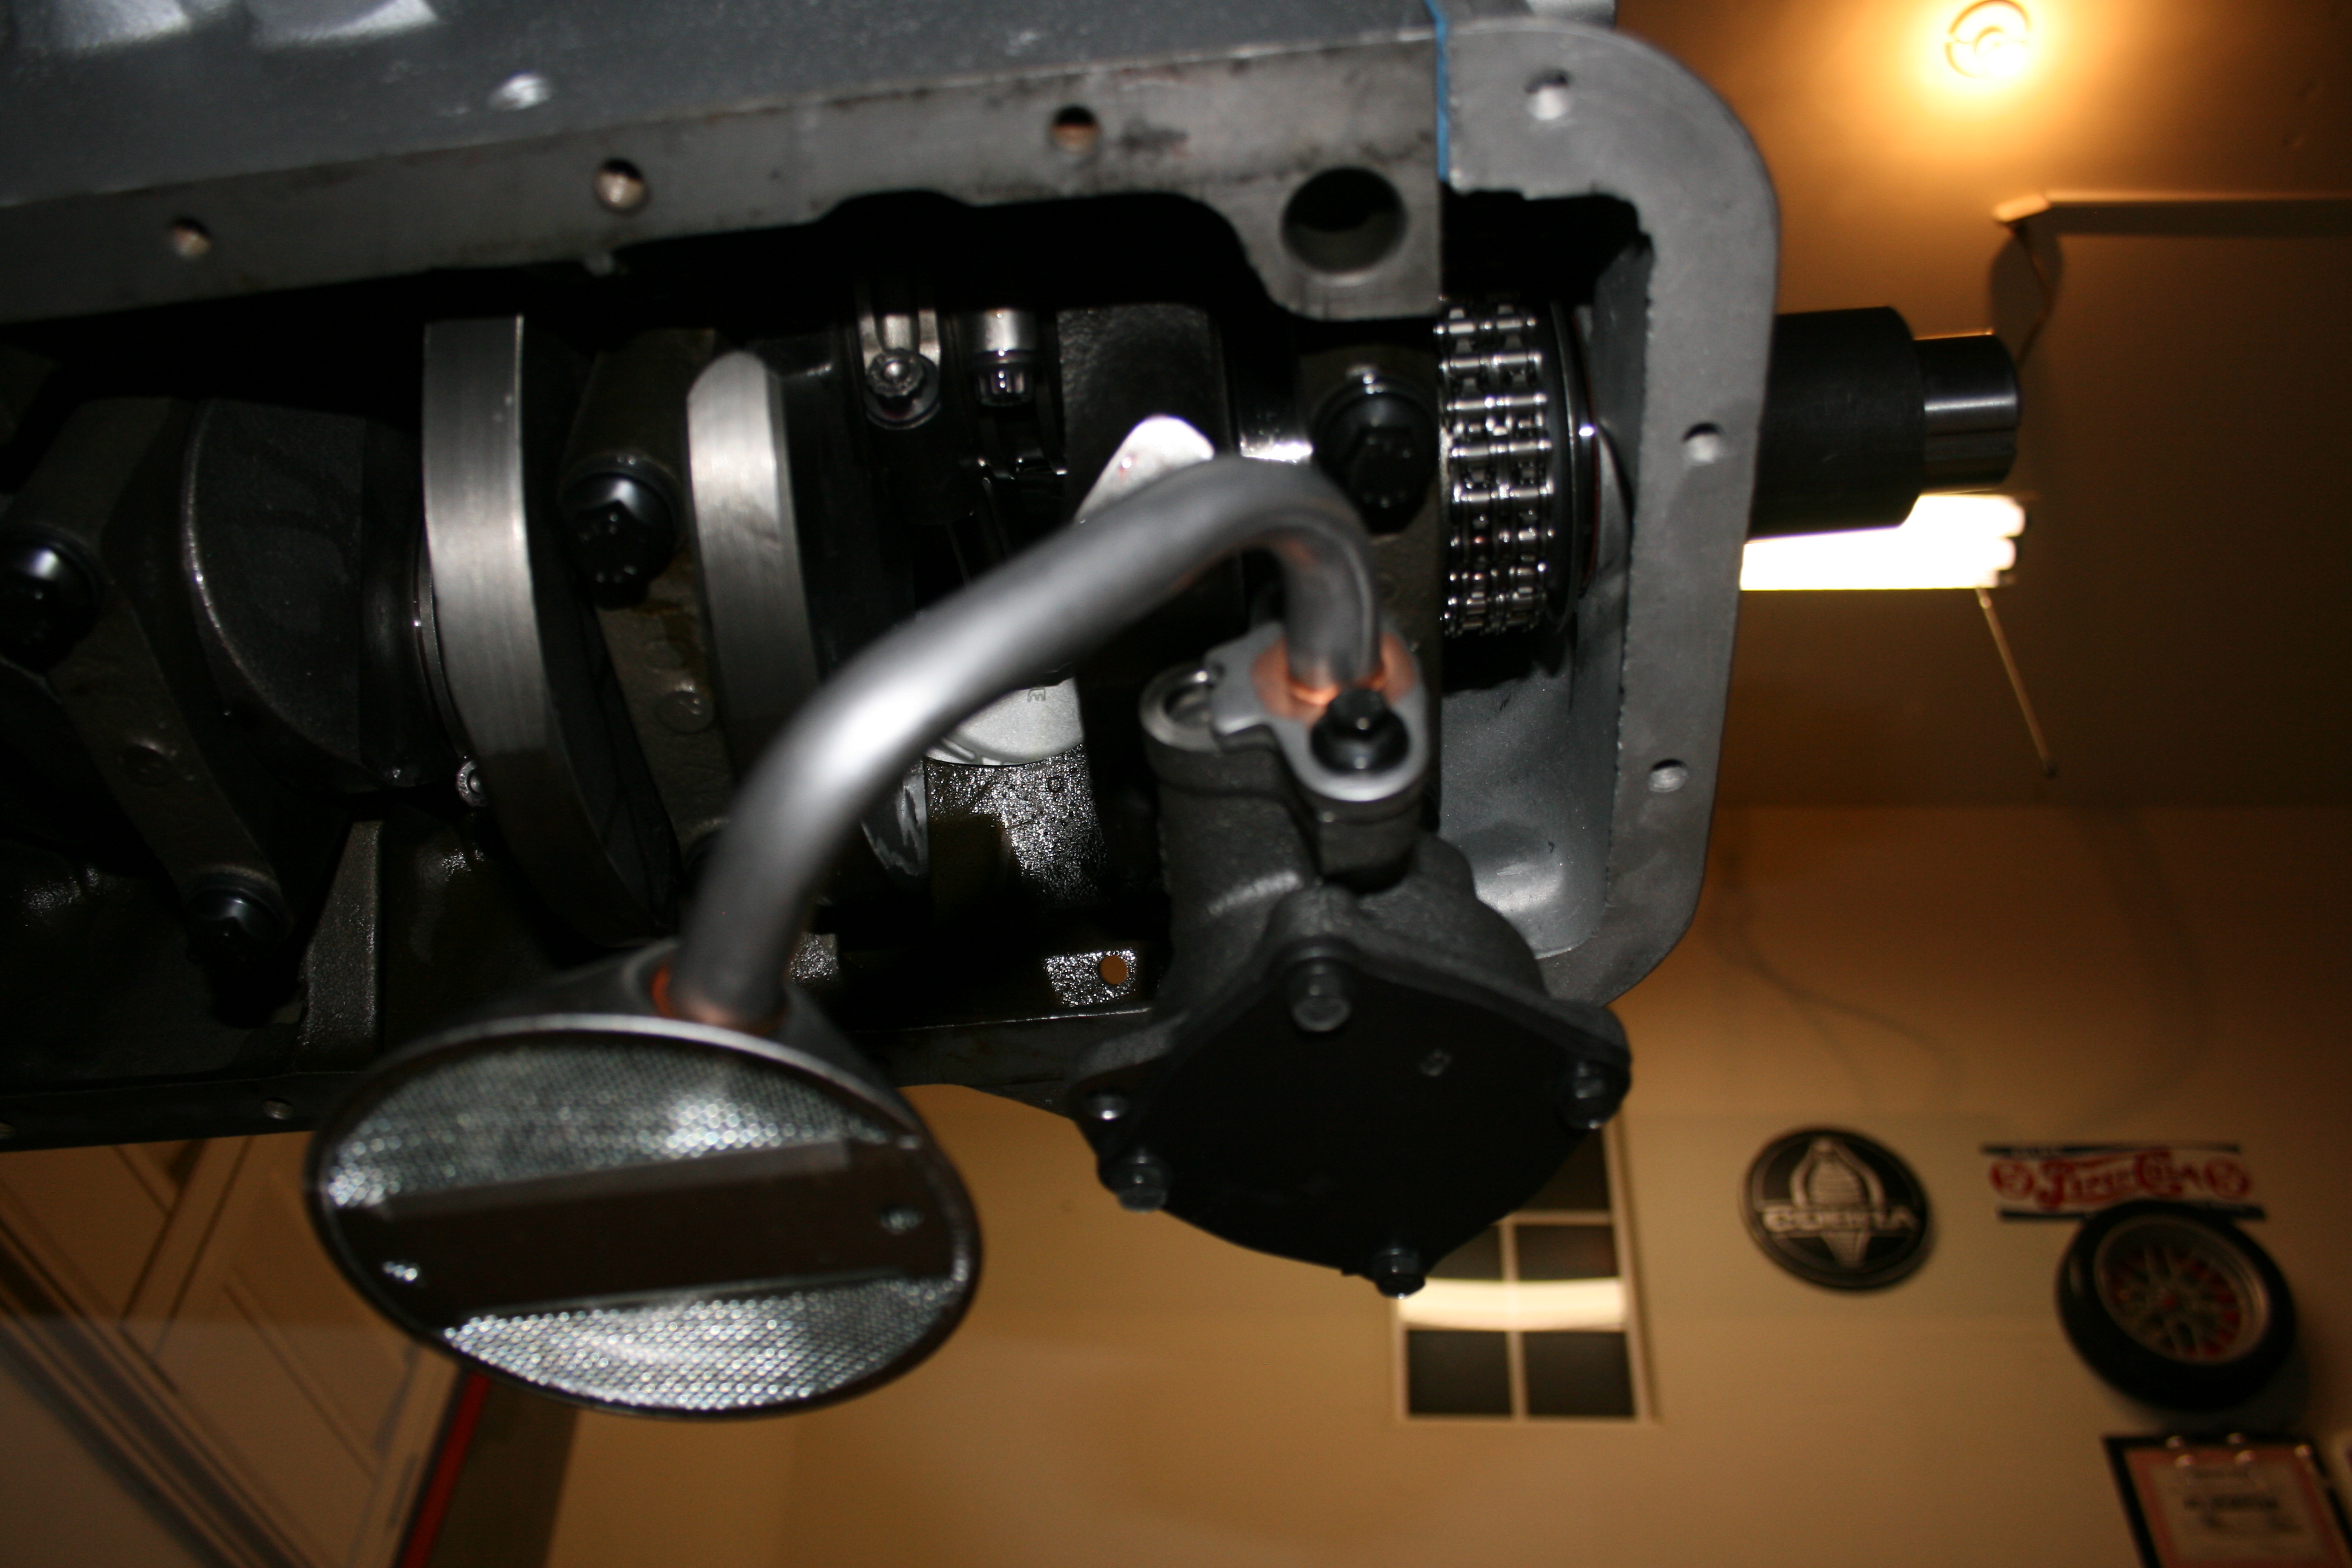
Found out the stock oil pump pickup doesn't fit the road race oil pan I bought so I had to go and buy a new pickup.  Luckily Summit let me return the original pickup.
Also got the oil pan and timing cover finally installed.  The "complete" bolt set I bought from ARP does not include enough bolts for the oil pan.  I could probably call ARP and get the 4 I'm missing, but the original bolts will be just fine.
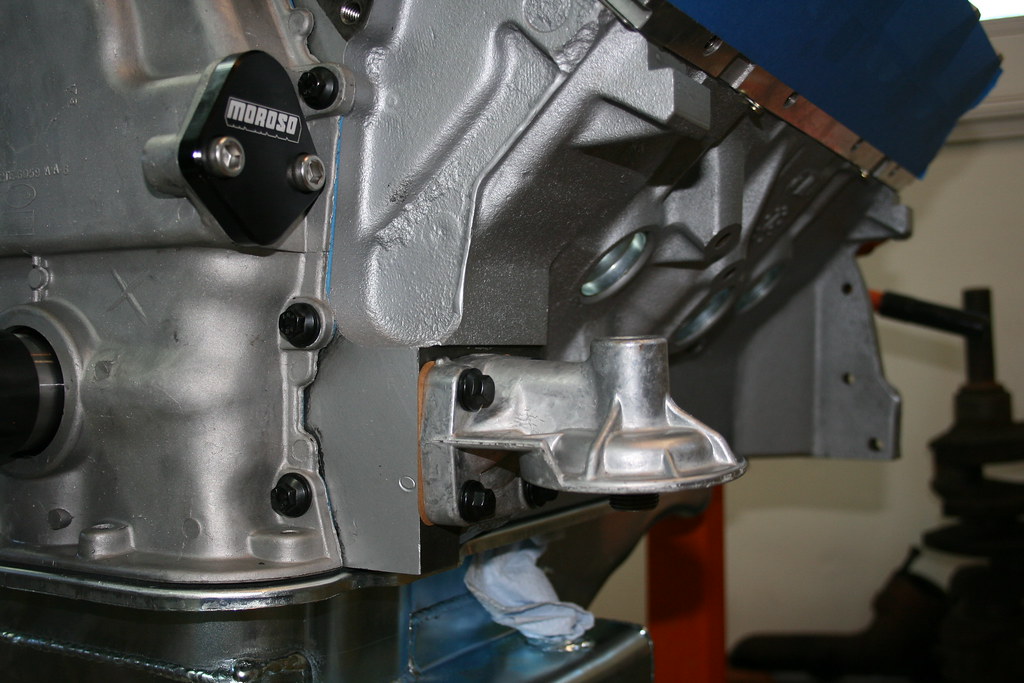
I had to plug the original dip stick tube hole since it wouldn't work with this new baffled pan.  A 3/8" expansion plug just barely fits in there and should keep oil from escaping through the hole.
I also decided to use a different style of oil filter adapter.  The one that came with the engine is a truck style mount, and while it would have worked I don't like how it holds the filter horizontally instead of vertically.  The one is the car version that hold the filter vertically.


Sunday, January 5, 2014

Oil Pump Installed

I used red locktite on the threads and just loosely attached the pickup.  Once I get the oil pan I'll verify pan to pickup spacing and tighten it up as well.

Cylinder heads installed and torqued

The orientation of the harmonic balancer spacer is backwards...

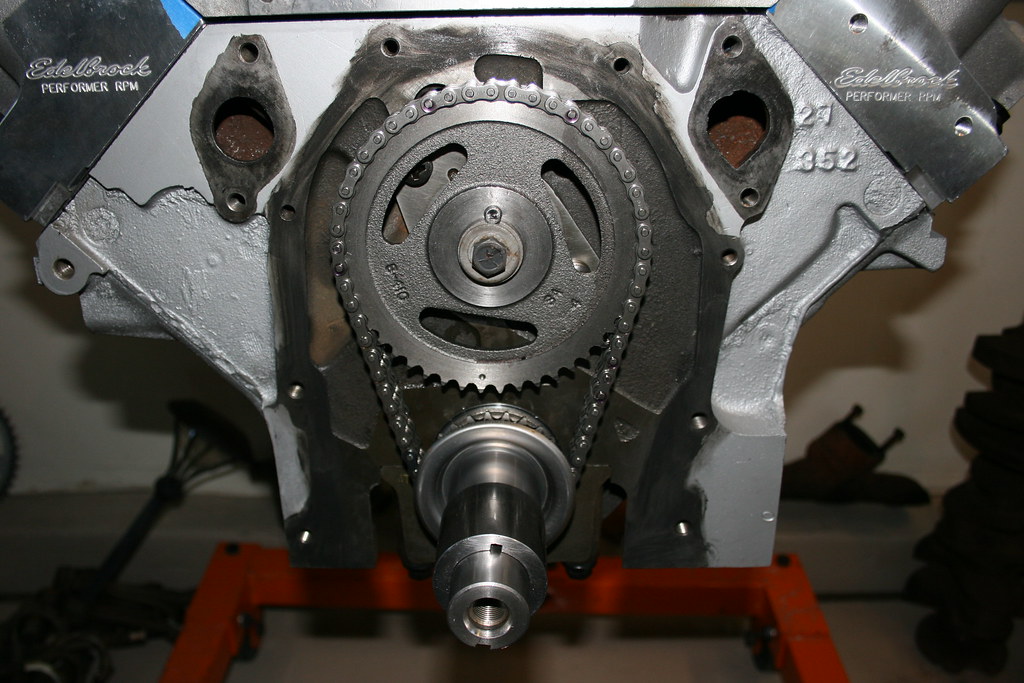
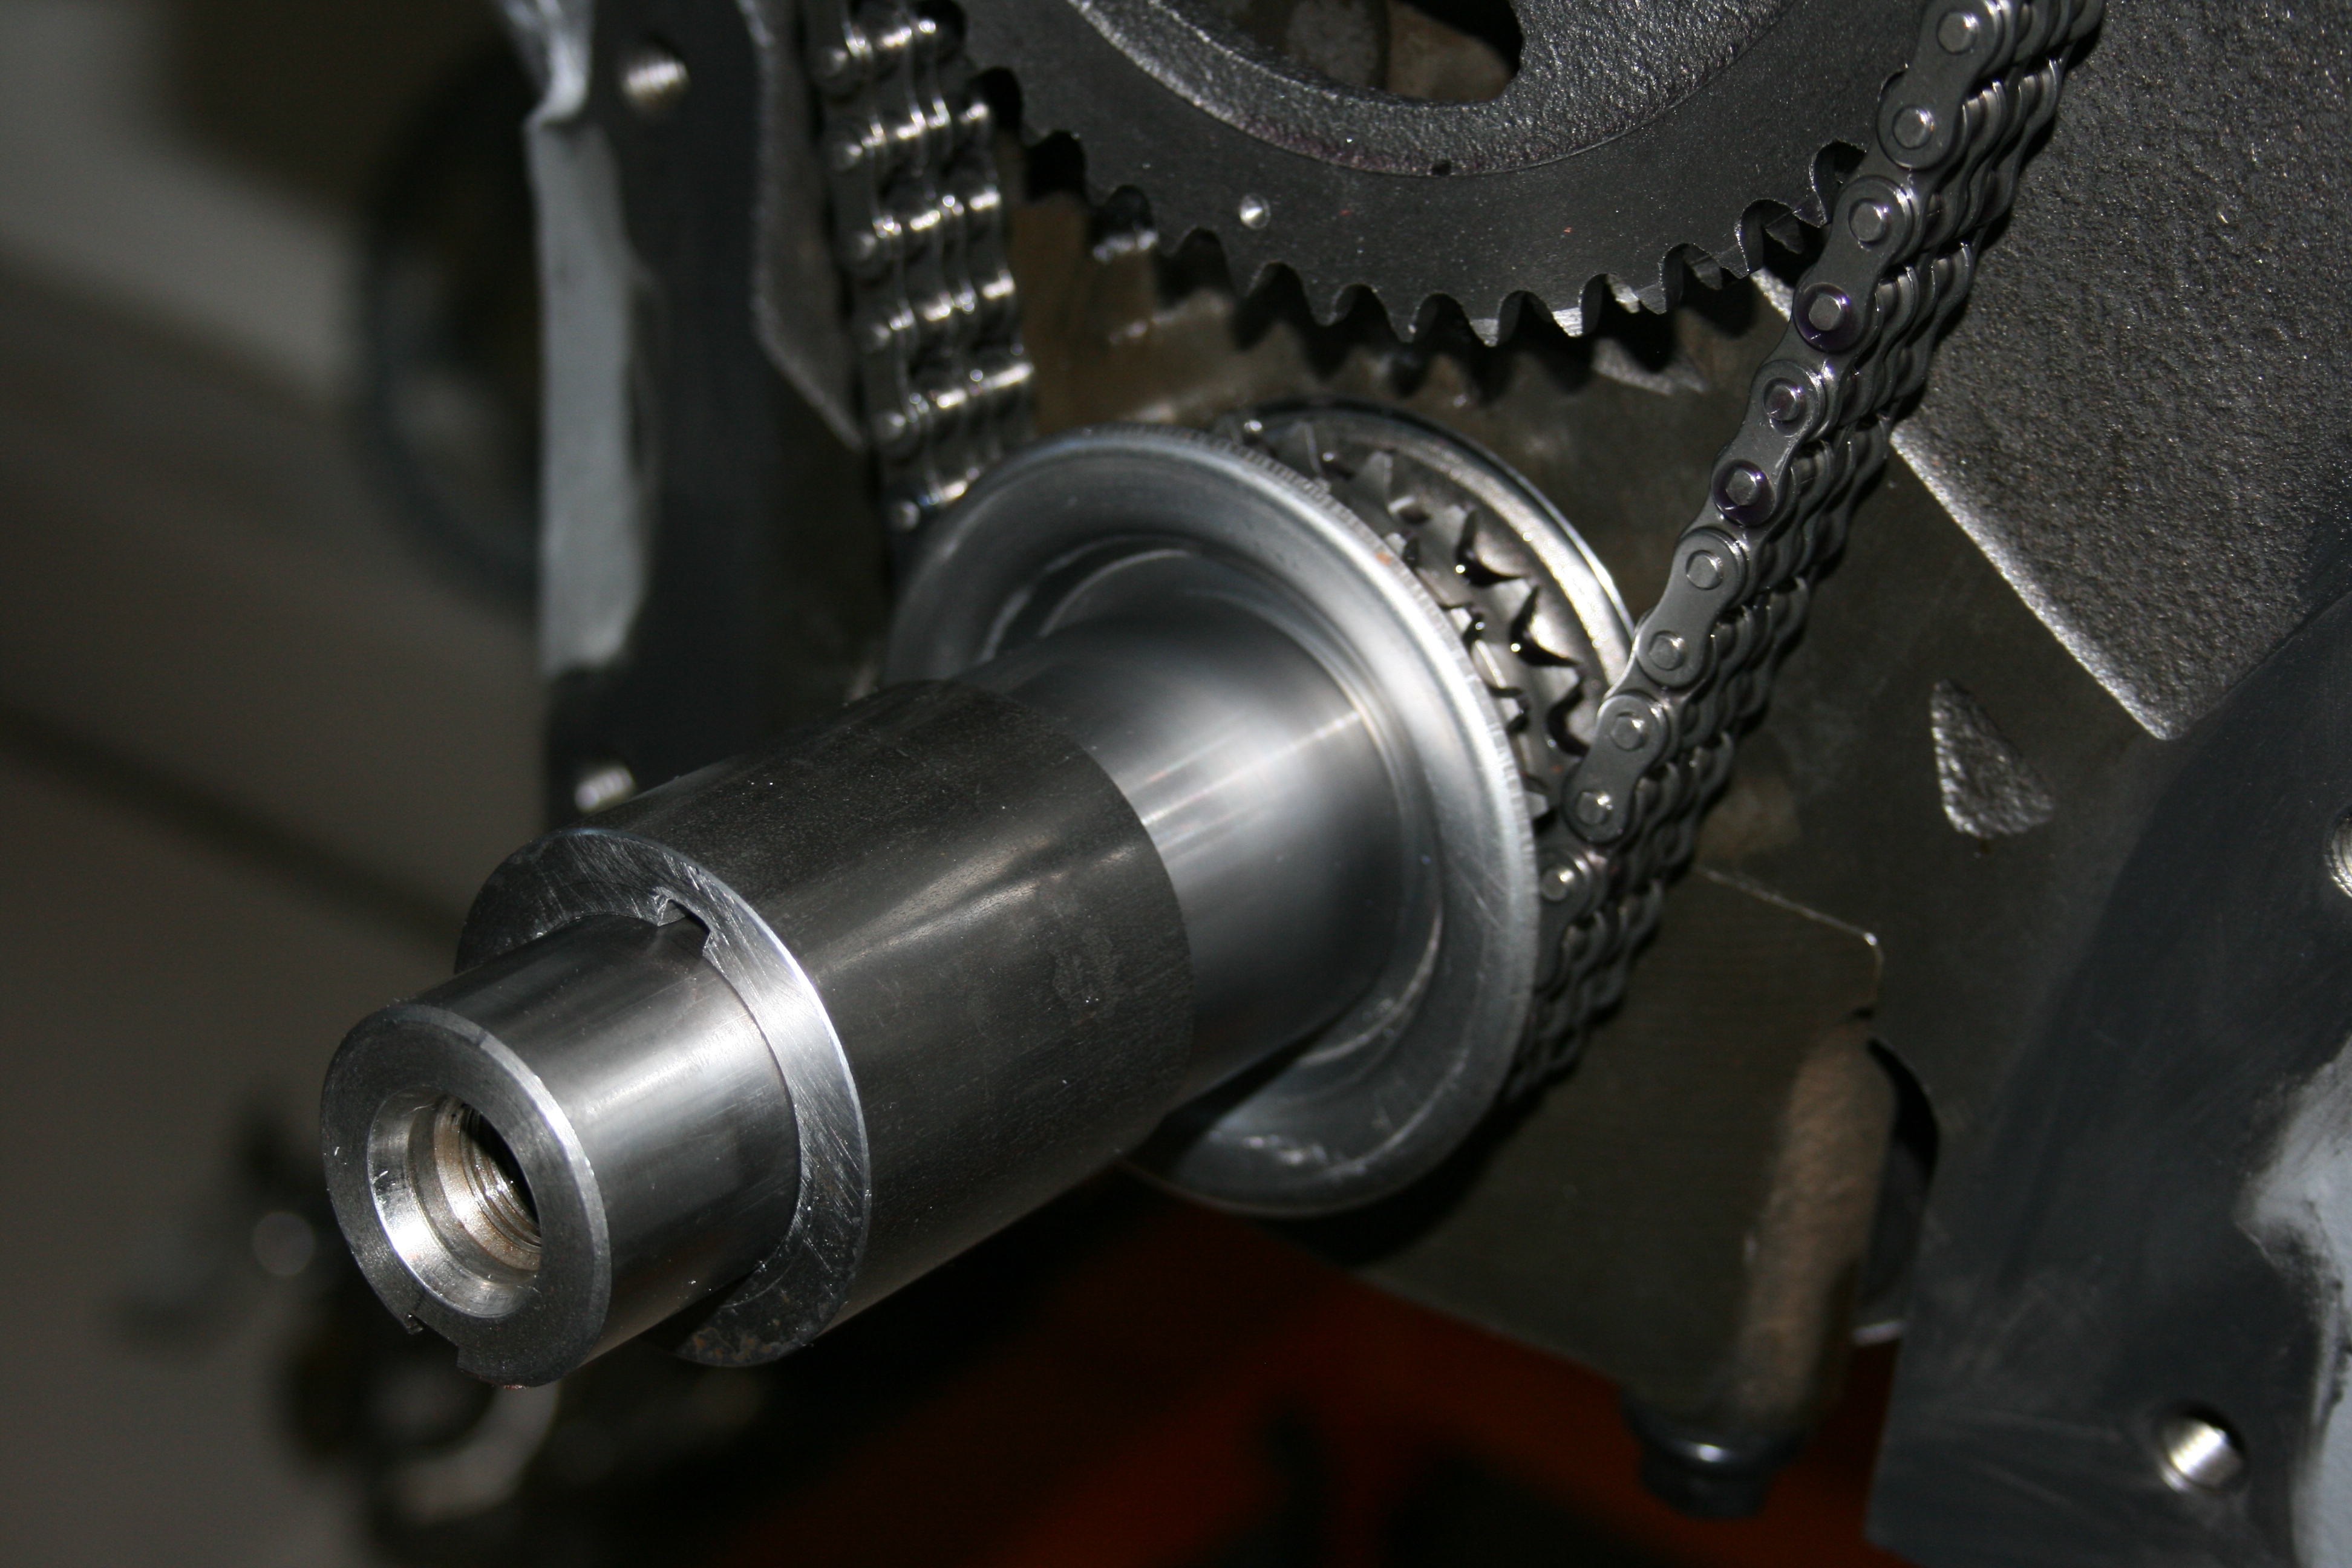
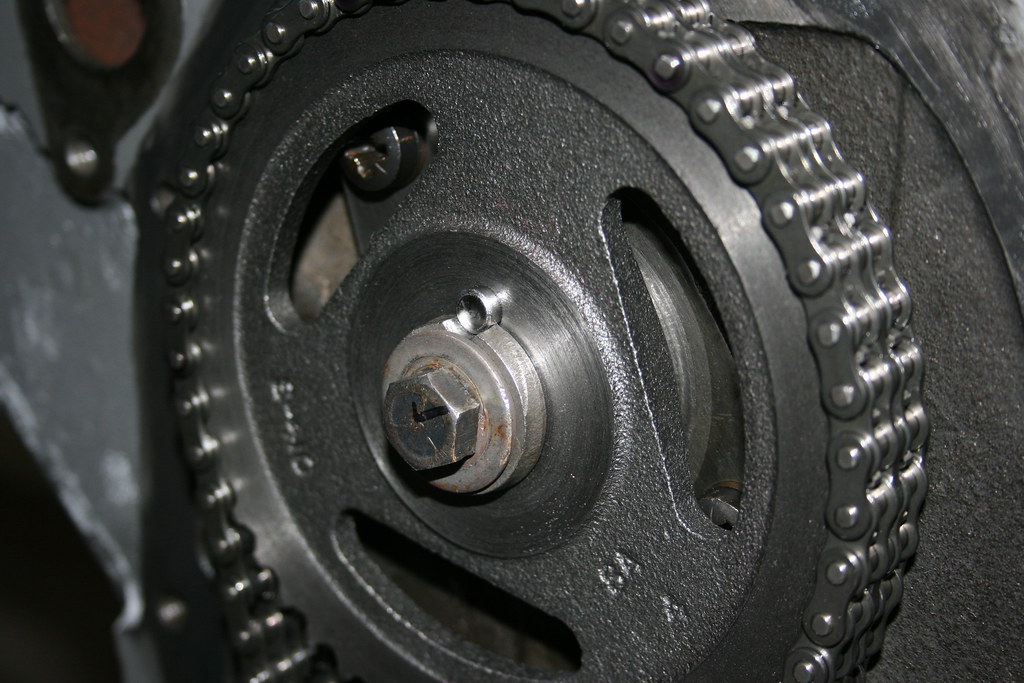
Bottom end and timing set installed.

I removed the fuel pump eccentric since I'll be using an electric pump.  Two washers lock in the pin and keep it retained.

Friday, December 20, 2013

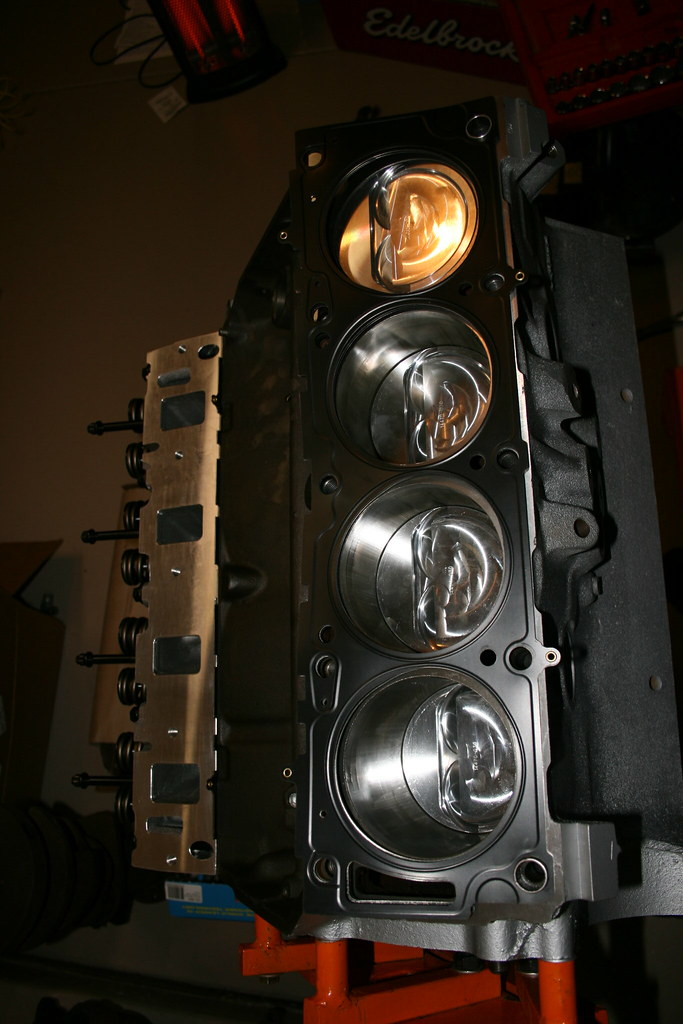
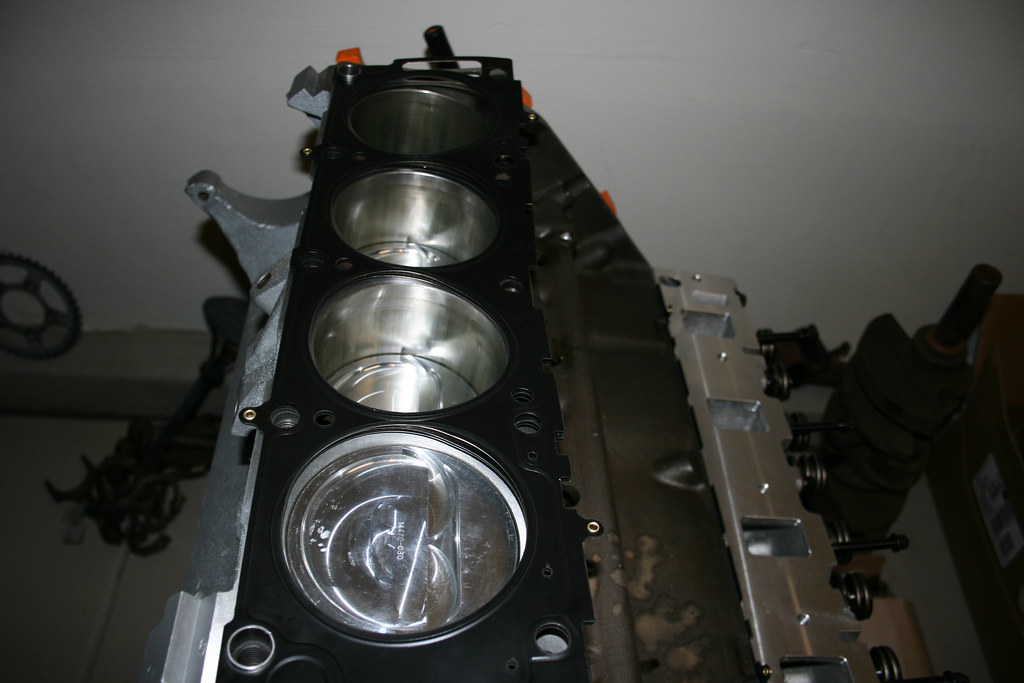
Piston assembly and installation.


Cam installation followed by crankshaft installation.
3.98" stroke crank and comp cams 280H-10.


Measuring bearing clearances for mains, and rods, and cam.  Clearance for piston to cylinder.  File fitting rings.  It time consuming but everything is within spec.
Engine Painted and ready for blue printing before assembly.

Thursday, August 22, 2013

Back from the machine shop

So I got all my parts back from Aims... well most parts.  I brought them everything I had with plans of having them build up the short block.  After talking numerous times with them about options and feeling uneasy after every conversation, I decided to have them do the least amount of work possible.

So they hot tanked the block and cleaned basically everything but the heads (still not sure why they disassembled the heads and didn't hot tank them).  I told them what it was for and that I was looking for them to build up short block.  I asked about options and they ultimate gave me pricing for some really expensive pistons and a rebuilt crank and set of rods.

I did some research and found a complete Scat rotating assembly for 100 bucks more and they were concerned the 3.98" stroke would mean the block would have to be clearanced.  Meanwhile any bit of searching will tell you people are putting 4.25" stroke cranks in these things.

I told them I would end up purchasing the rotating assembly and they decided that they would bore it for me even though I had not received the pistons yet.  I asked if they wanted to wait until I had the rotating assembly and they said it wasn't necessary.

I went to pick it up and they had thrown out my old pistons and pins, and I had to ask to get the old crank back.

I measured one side of the engine and everything seems to have been bored accurately.  They installed freeze plugs and oil galley plugs and didn't charge me (hopefully they did a good job cleaning the oil galleys).  They also installed the cam bearings which seem to be good.

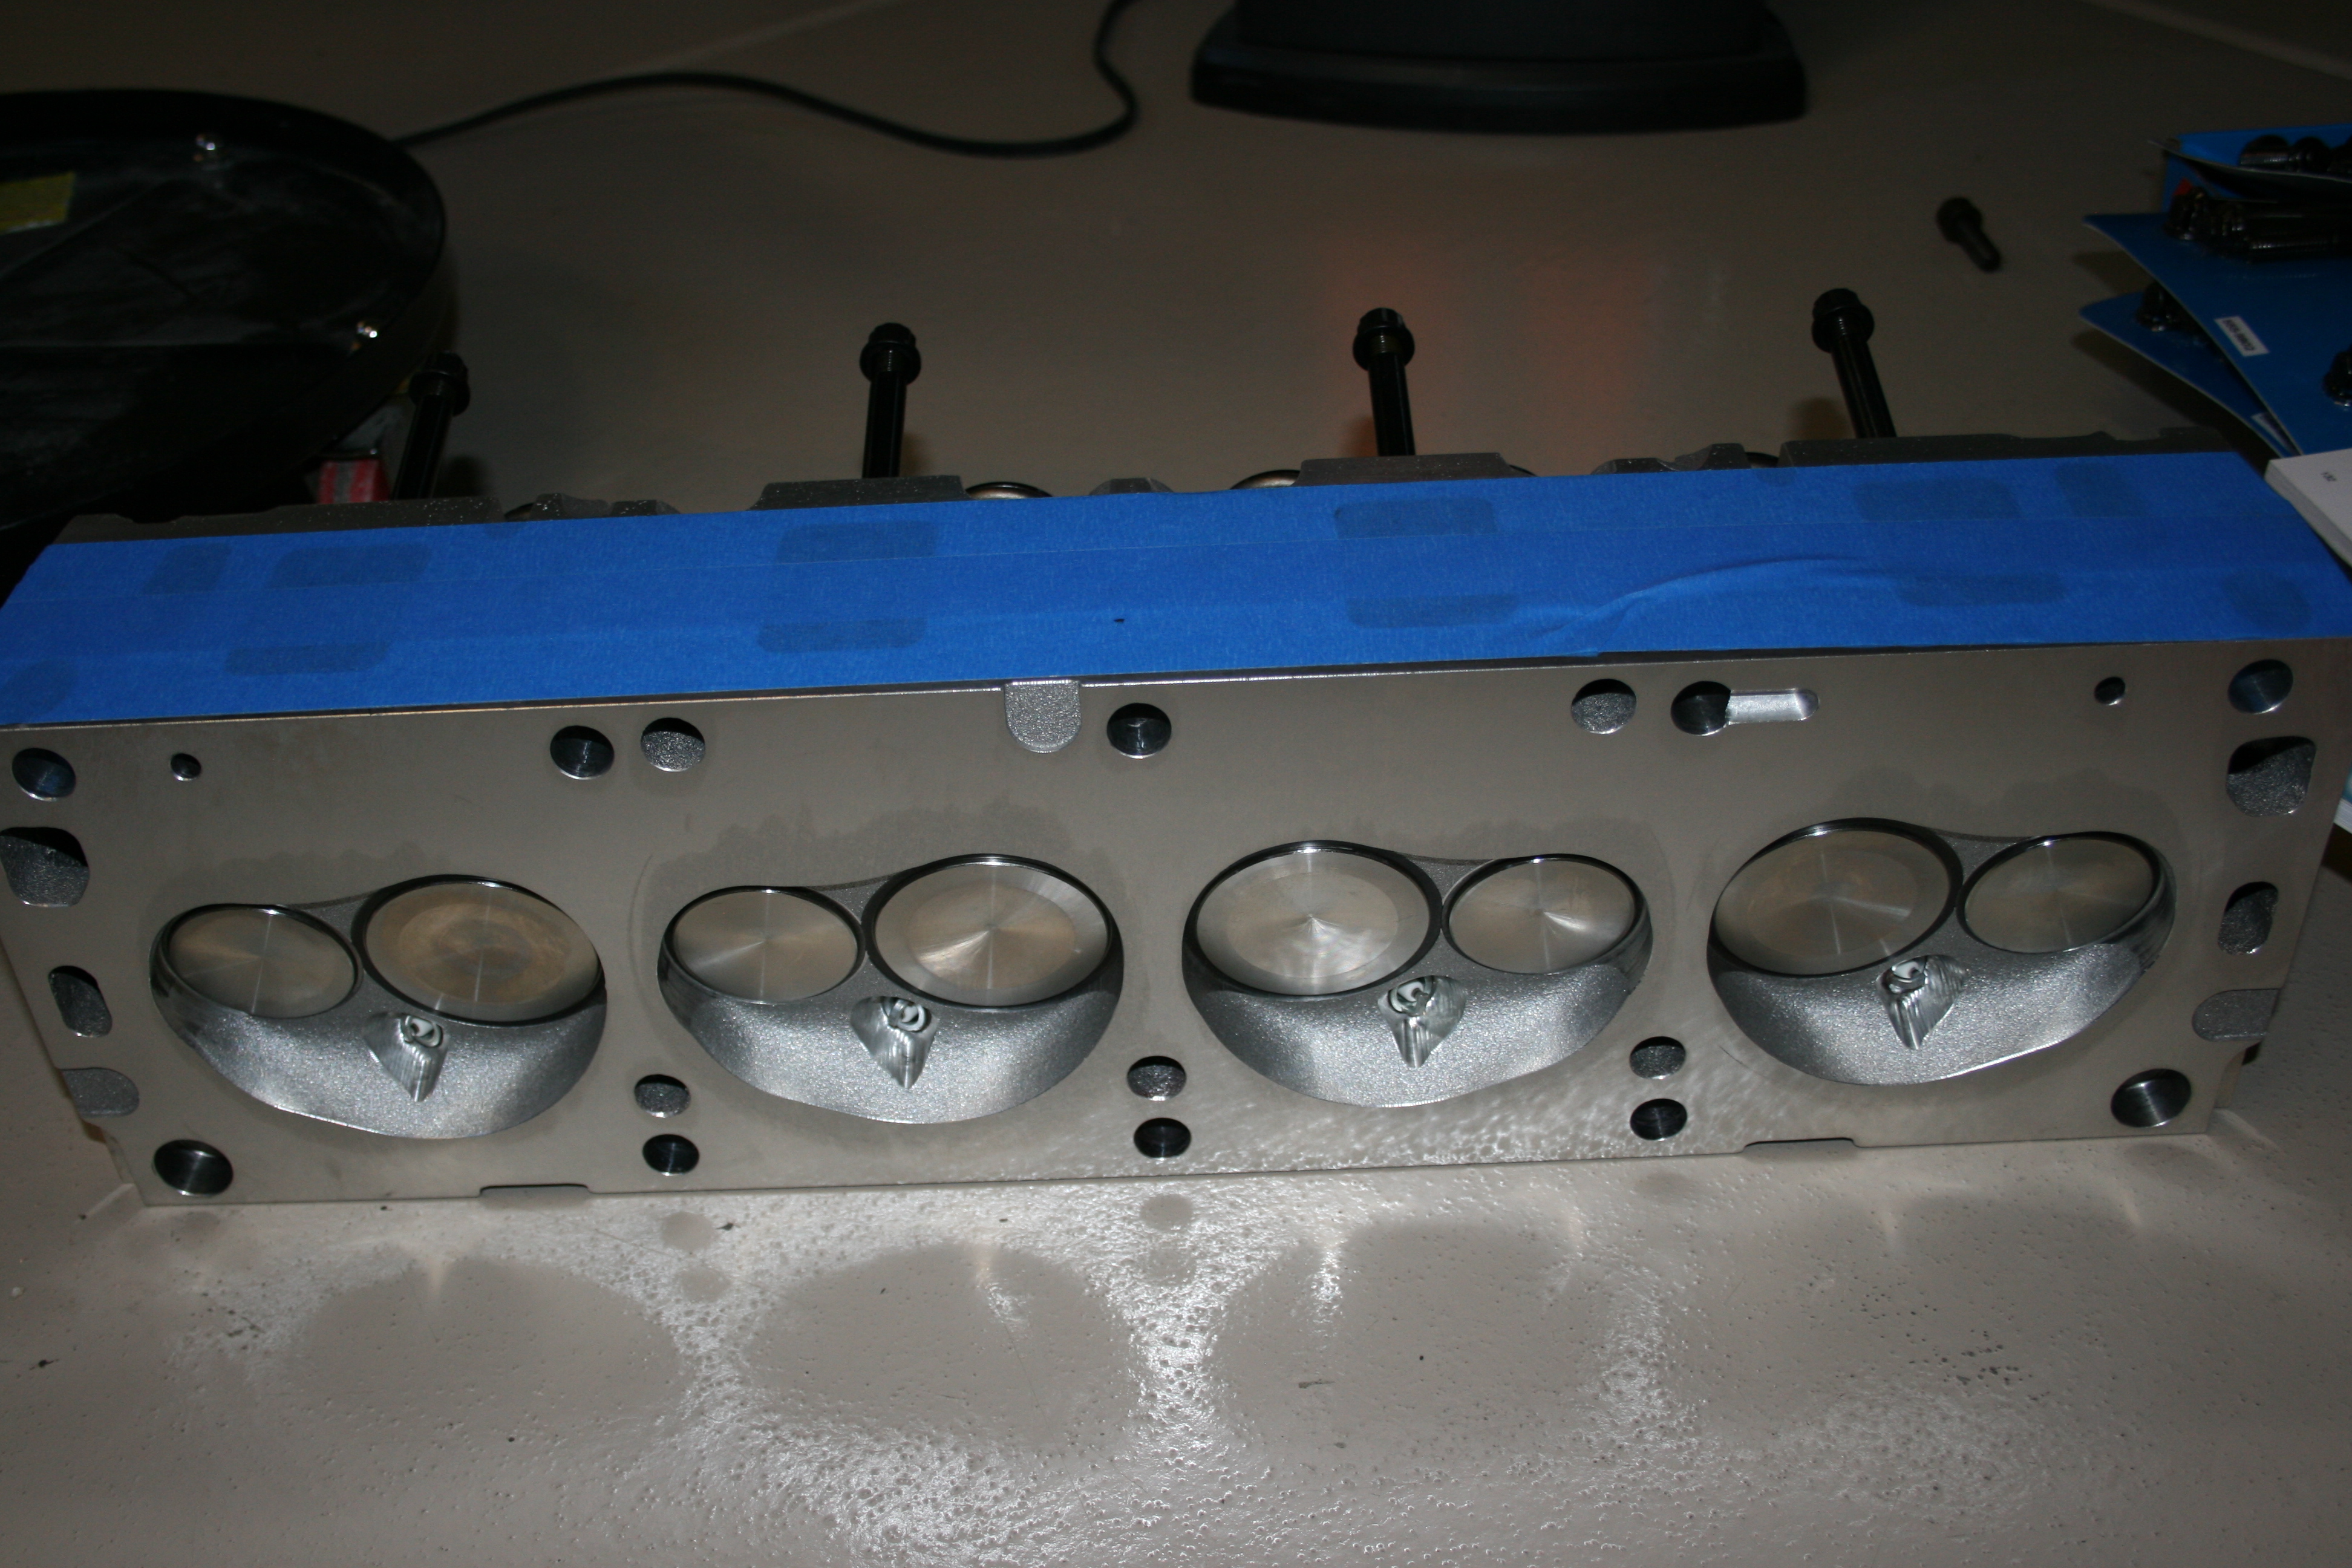
As for the heads that they disassembled I took them to another machine shop and they found that they were both cracked.  Surprised Aims didn't mention that especially when they disassembled them.  On to painting the block and tracking down some new heads...
Tuesday, July 2, 2013

Off to the machine shop

The engine is at the machine shop as of yesterday.  Although they couldn't supply estimates yet they gave me ball park figures...  $800 for complete head rebuilds.  They said generally there is some trouble with the FE heads.  If the engine needs a complete rebuild it could be around $3500.  I should hear in about a week and a half what the damage will be.

Wednesday, June 12, 2013

Build School


I got a chance to go to the Factory Five Build School that is offered at Mott College in Howell, MI.  About 15 of us built the car from the way it is received from Factory Five to running and driving automobile.  It was a really good class and I definitely took away some great tips for when the time comes.
Obviously, there are details that were skipped or fast forwarded, but all of the tasks you'll have to perform are basically done at least once during the class.
Thanks to my wife for gifting me the plane tickets and the class, and thanks to Todd and Jim for the education!

Thursday, May 30, 2013

Found an Engine!

I finally found a possible engine.  Here's the Craigslist add (Phone number masked to protect the identity of the innocent).
Ford 390 engine $600. engine is rebuild able is all std crank and bore this engine is a good for a hot rod smog exempt in NV Block casting # C6ME-A eng. date code 7F1 (6/1/1967) Ross 775-424-xxxx

I went to take a look and the thing was mostly in pieces.
 
I did my best to measure the bore with a pair of calipers to verify it hadn't been bored already and I offered him 450. He was good with that and we loaded it up in the truck.  I'm finishing the tare down and things look OK.  Missing valley pan tray, oil filter adapter, and some miscellaneous hardware so far.  Next stop is AIMS Machine for machine work and a build plan.

Sunday, July 3, 2011

Manufacturers Trip

The week of June 27, 2011 I made it out to ERA and Factory Five Racing manufacturing facilities.  Staying in Burlington, Ma. allows for a 2hr. drive to ERA head quarters and an hour and fifteen minute drive to FFR.
 ERA
 My first stop was ERA.  Once I got there Peter was able to get a break from phone calls long enough to show me around the facility which consists of two large shop spaces.  One area was a fabrication area, the other was a final assembly area.  There were cars at various stages of completion.  A close look at an unfinished frame showed some great welding.
  After that Peter offered to show me their other building.  Just up the road and around the corner they have another building dedicated to the GT40.  Love the looks of that car, and I'm sure it would be awesome, but its definitely out of my price range.  Still seeing the shop was great.
FFR
  The next day was a trip to Factory Five Racing.  Once I arrived I met up with a couple other folks who had also planned a tour of the facility.  One guy was local to Mass. and the other was from Florida and had just recently received his roadster from FFR.  The facility consists of one large warehouse area broken into different areas for the various tasks.  After hanging out in the showroom for a bit Rick took us on the tour visiting beginning with the customer support/ office area.  It looked like 5-6 folks had desks in there.  Then we moved to a stocking area where parts are picked and packaged depending on the customers order.  From there we moved to an area where R&D fabrication occurs.  Inside they were working on the 818 model chassis.  After that we moved on to the production metal fabrication area.  This area consisted of welders working on chassis and other parts based a production schedule posted on a white board.  I was impressed by their quality control procedures and the sophistication of their welding machines.  Beyond that area was a place for all the fiberglass work.  The CNC machine was setup for cutting roadster trunk lids and there was an array of doors curing all around.  The final area was the aluminum and final assembly area.  Pre-bent aluminum hung on the wall and chassis were lined up awaiting aluminum assembly.  From there it was back to the showroom where we were presently surprised with an opportunity to meet Dave Smith himself.  He was on his way to a meeting with folks from Horsepower T.V., but he took the time to talk with us for a bit on his way out.  Once he left Rick fired up a car in the showroom for one of the guys just to let us hear it.  Then he hung out to answer all our questions and let us sit in any of the cars we wanted to.
  All in all it was a great trip to both places and I feel very good about the decision I've made to go with Factory Five.  I'm ~6 years away still, but I'll be ready when the money is saved.

Friday, April 29, 2011

Visit Time

The wifey happens to have a conference opportunity in the Boston area.  I'm going along and while she is at the conference I'm planning on visiting the Factory Five facilities, and possibly the ERA facilities as well.  I scheduled my visit at FFR with Sally.  Review to follow...

Thursday, January 13, 2011

The Beginning and Selection

This all really got started for me around 2003-2004. My wife and I were planning for our wedding and we merged finances.  That is when we decided to open the replica savings account. We've been saving ever since, and slowly but surely we're getting closer.

To begin my quest I started researching online for replica manufacturers. Of the many options available I initially liked the Unique Motorcars replica, then I found the ERA site and it's wealth of information and thought that would be a great option. Finally I found my self looking into the Factory Five Roadster.

Factory Five really does seem to be the best bang for the buck in my opinion. The fact that there are companies making many aftermarket parts and an entire forum devoted to Factory Five really made it the right option for me.

I just got the Factory Five MKIV manual for Christmas, and this is where the adventure really begins...