Thursday, September 25, 2014

Pedal Assembly

Next came the pedal assembly.  It's a Wilwood kit that factory five includes with the rest of kit.  Nothing too tricky with this pedal assembly kit.  The only issue I ran into was the clutch pedal hitting part of the frame when it was fully depressed.  I notched the pedal arm for clearance.  Really it probably wasn't necessary, but now I definitely don't have to worry about the pedal crashing into the frame.

Front Spindles and Brakes

By now the brakes and spindles had arrived so I was able to finish up the front assembly.  I had one torn dust boot (the blue things) so I decided to replace them all with some new ones from Energy Suspension.
I also realized that I had initially installed the steering arms on the wrong sides.  The hole should be smaller on the top than on the bottom.  Itorder to remove thos you have to remove the spindle from the lower control arm.  In order to get a socket on the lower ball joint nut you have to remove the upper ball joint from the spindle.  So I basically assembled the spindles to the control arms twice :).

Rear End Installed

We got the front end assembled as much as we could.  The front spindles were on back-order so I decided to skip ahead a bit and work on getting the rear end installed.  Before purchasing the kit I went to pick and pull and found a '92 Ford Thunderbird Super Coupe to get my rear end out of.  I took that to Reno Driveline and Gear and had them gut it and install new 3.31 gear and a Truetrac differential.  I used some ratchet straps and the floor jack to get it into place.  I replaced the rubber bushing from the Thunderbird with poly bushings.
With the rear end installed I went on to install rear lower control arms and coilovers.  I found that the some of  the spacers they supplied were a bit short.  To I ordered some steel tube from McMaster Carr and cut my own to fit snug.

Thursday, August 14, 2014

Body Removal and Front Suspension Assembly

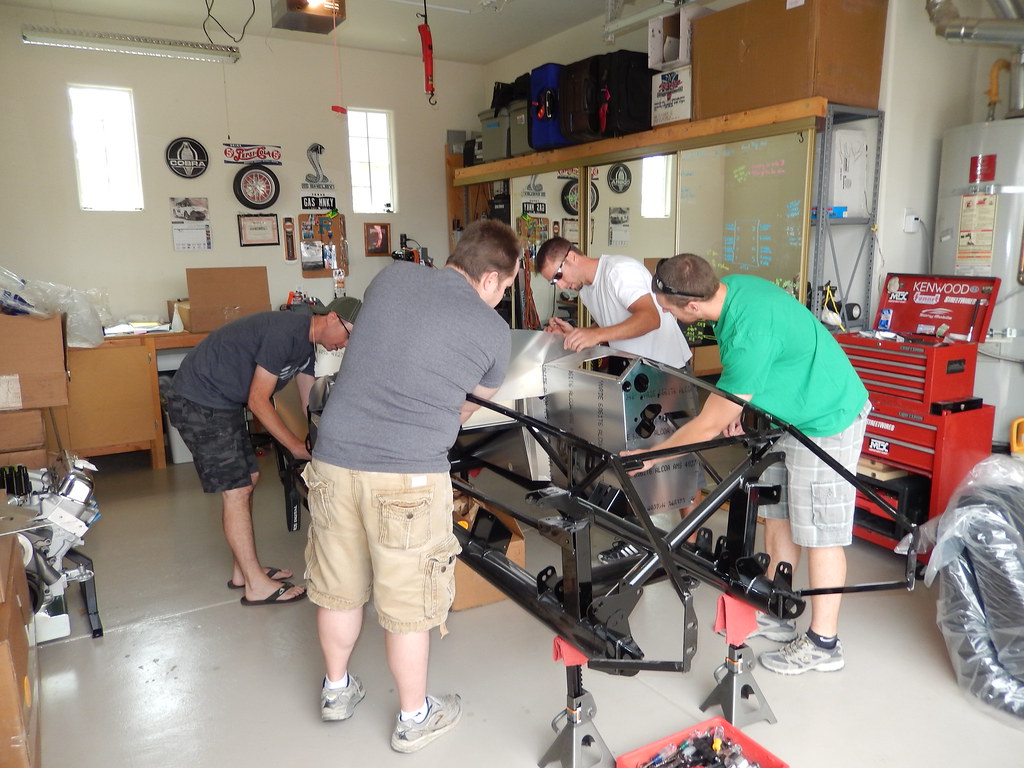
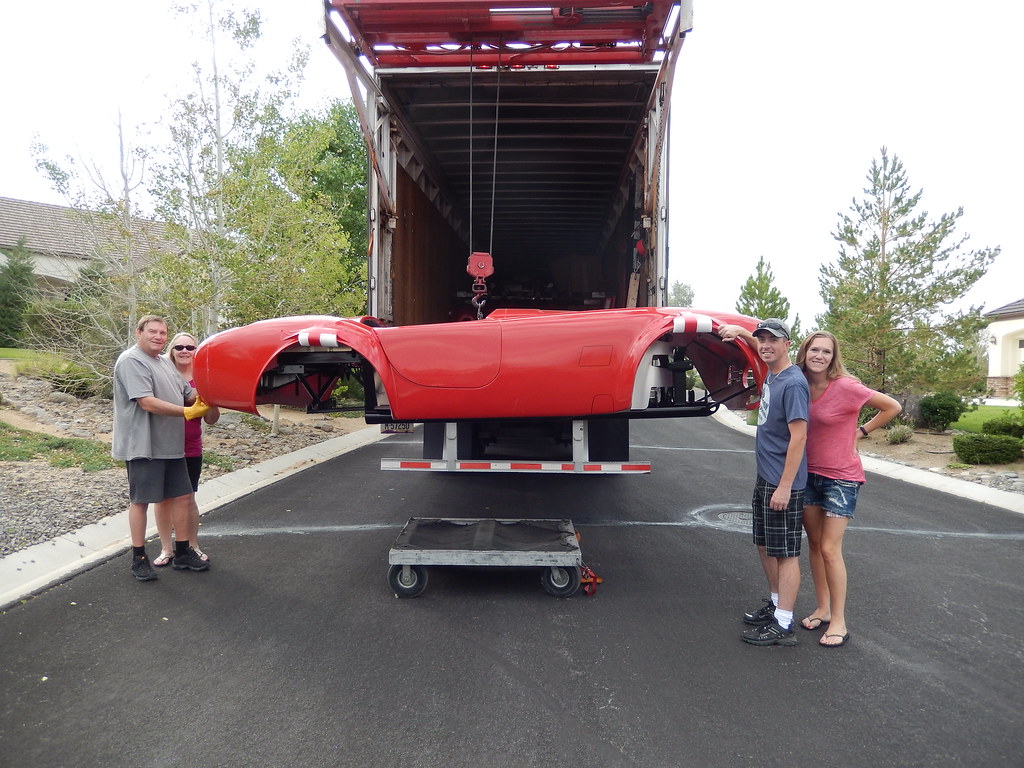
With inventory complete the first step in assembly it actually dis-assembly.  The body and aluminum panels are loosely attached to the chassis for shipping so I got a hold of some friends who were willing to come over and lend a hand.  With one of us on each corner of the body we lifted (rear first) and the body came off.
The "body buck" I built is on stilts so I can roll it in to the garage above the chassis for storage.  It was a cool idea I gleaned from other builders, but it makes a bit more challenging to place it on the buck.  Me and another friend actually sliced are fingers pretty good so I bought some extra gloves for next time.
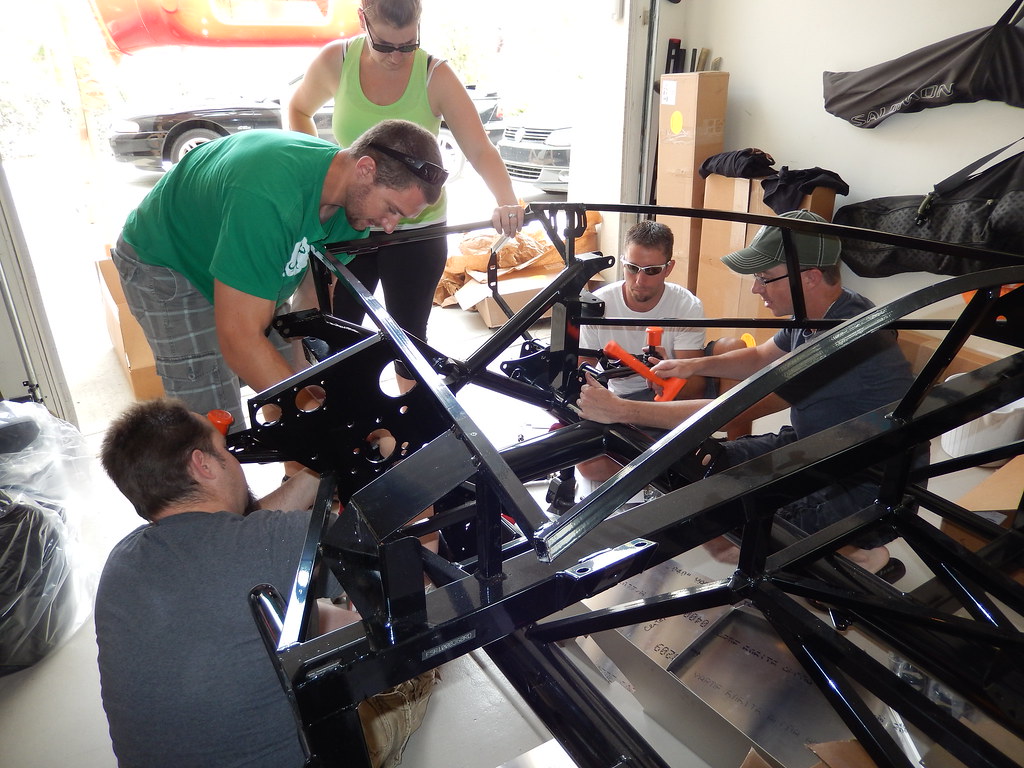
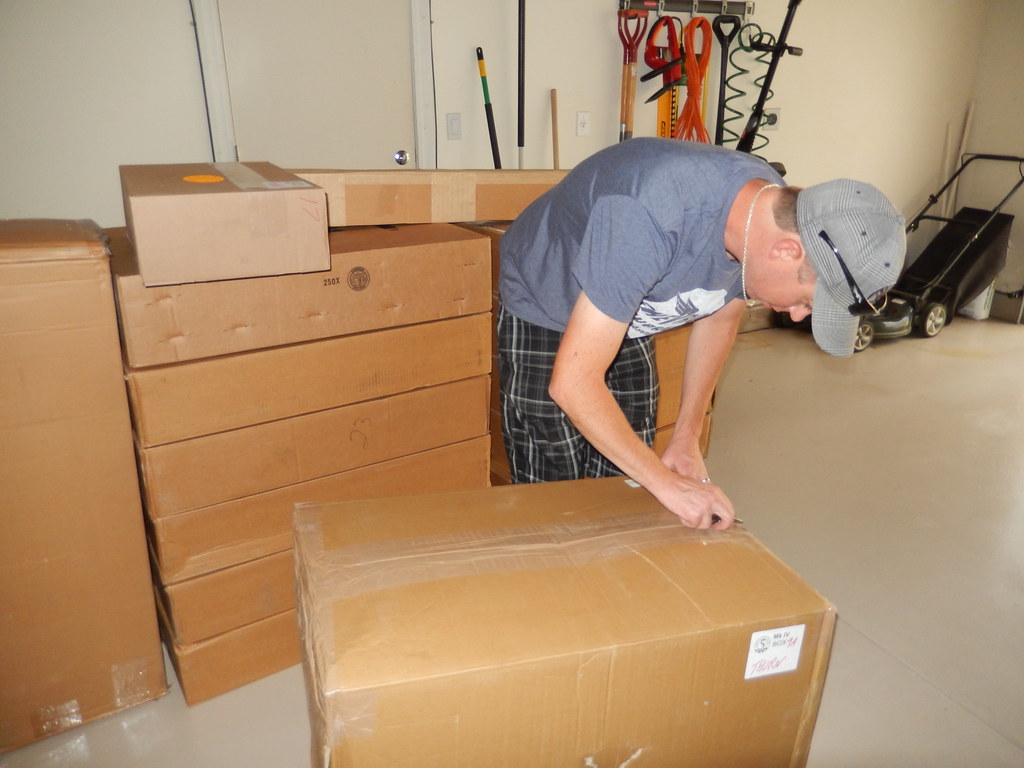
Since taking the body off took all of 5 minutes... We decided to remove the aluminum panels as well.  3 of us with markers labeling the pieces and a couple with nut drivers and ratchets made pretty quick work of that too so... why not start assembling the front end.

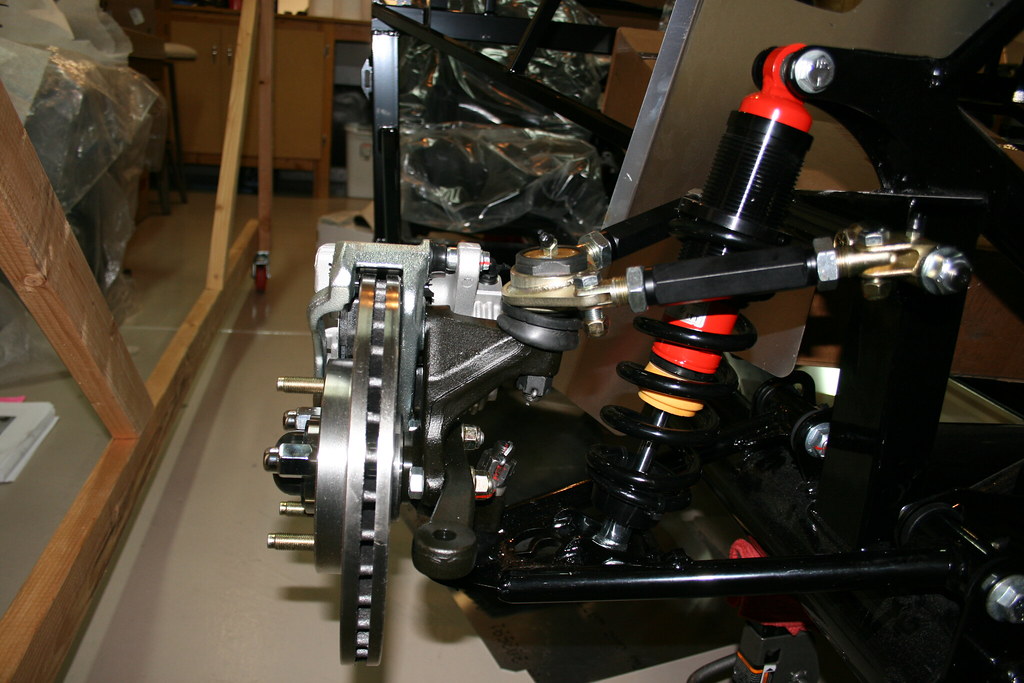
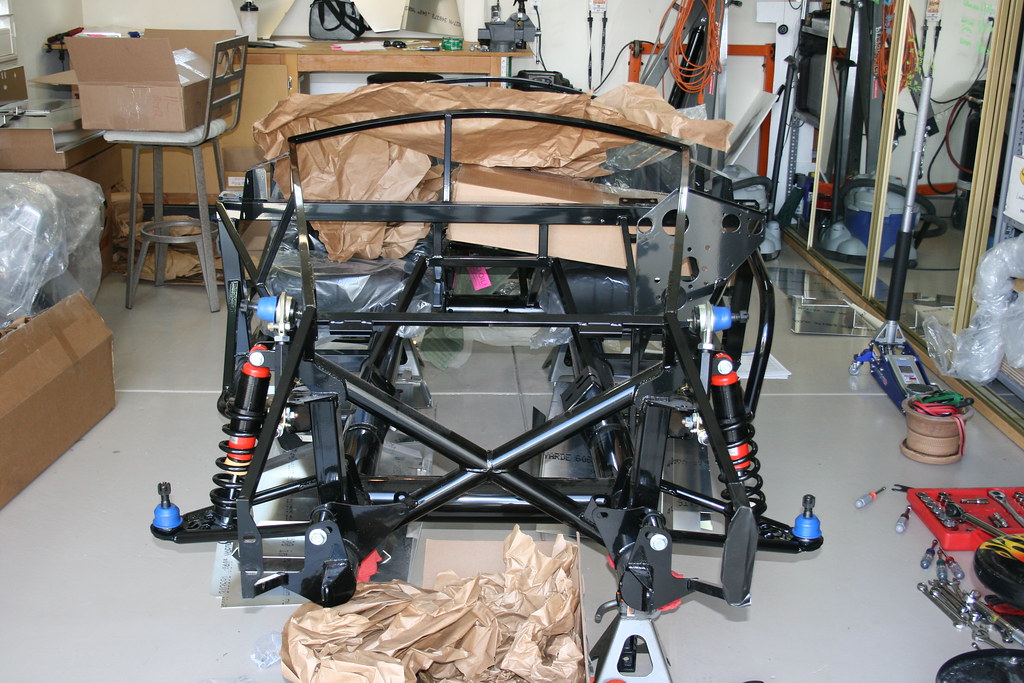
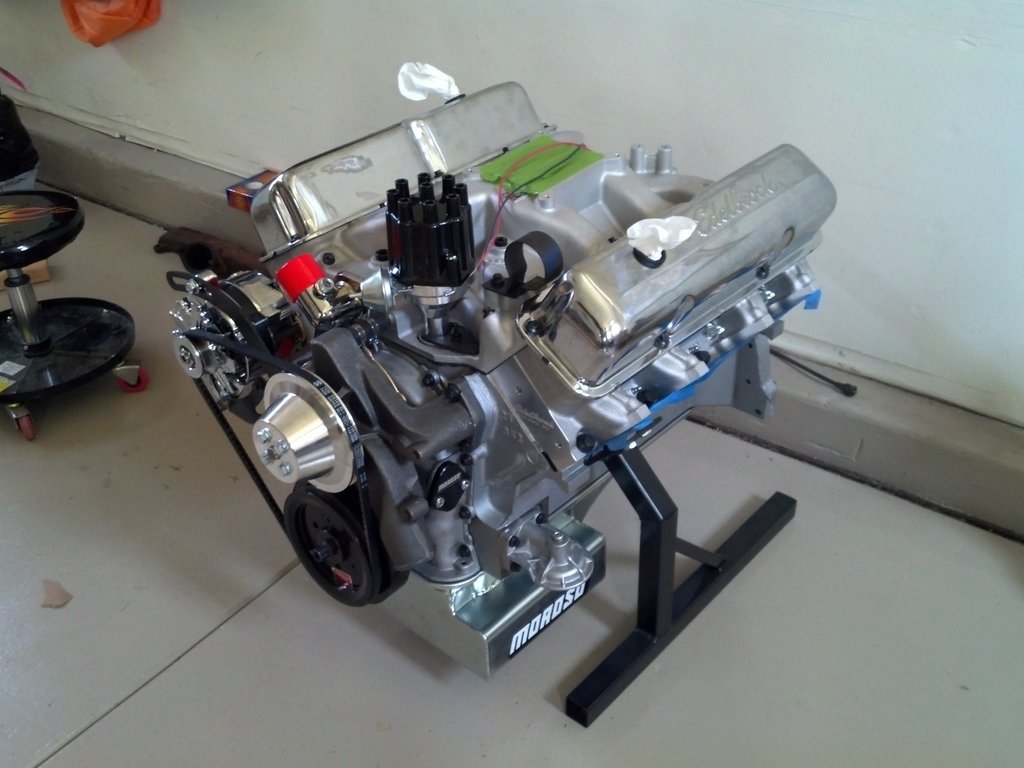
So we grabbed some pizza for lunch and assembly began.  We actually got everything together to the point were the first back ordered part stopped us.  The spindles were missing, but we got the rest of it loosely assembled.

Inventory

With the makings of a car in the garage inventory began.  It took a few days to go though every box (~23) and count nearly every nut and bolt.  Just about everything was there.  Some items we're known to be missing and are on back order.  A few other things were just plain missing.  No big deal though Factory Five has been awesome about shipping the missing parts.  One funny thing though was that there were no front brake components on the packing list or in any of the boxes.  Called up Factory Five and sure enough they complete spaced it all together.  They will be here next week.
Just had to test out a seat :)

Tuesday, August 12, 2014

Building the Roadster


The MKIV arrived on Sunday July 27th.  Jim from Stewart Transport was the driver.  He was a bit concerned about maneuvering the trailer in the neighborhood so I met him at a local parking lot and showed him the roads up to the house.  He was good with getting the truck up there and turned around so I dropped him back off at his truck and he followed me up the hill to the house.
My wife and her parents helped us get all the boxes unloaded first.  Then Jim hooked the car up to he crane and set it down on the dolly.  We pushed it up the driveway and in to the garage.  Jim just lifted the body and frame while we slid the jack stands under it.

Monday, August 11, 2014

I got a bunch of parts I need for the build.  I ordered the wheels from Levy Racing and everything between the crankshaft and the drive shaft from Fortes Parts Connection.  It took the wheels and tires a bit longer than expected to arrive, but they finally did.
With these parts, now I basically have all the major parts I'll need to complete the kit.  Now it's just a matter of waiting for it to arrive.

Sunday, April 27, 2014

Engine is basically done. Order is placed.

Well the engine is basically finished.  Carburetor and air cleaner will get installed once I know how much room I have under the hood.
I tried some Evaporust in the coolant passages in the engine and it actually worked really well although I think most of the rust was just surface rust.
 I also got a rear end from an old 1990 Thunderbird Supercoupe out at pick-n-pull.  It actually had positraction and 3.27 gears in it so I probably could have just used it but...  I decided to have the whole thing completely rebuilt.  Now it's got 3.31 gears and a TrueTrac differential.  I had Driveline and Gear do the rebuild for me since there are a few specialty tools required.  When I got it back I decided to paint it black.  Looks brand new now and it basically is.

I also sold the motorcycle last week.  With that sold and a lot of the odds and ends figured out I decided to pull the trigger last Wednesday and order the kit!  I'm hoping it'll be here around the end of July.  I've built a carrier for the body to rest on while I'm assembling the frame and suspension.  So now all that's left to do is wait.  It's going to be a long few months.

Tuesday, February 25, 2014

Intake installed

I got the intake manifold installed and torqued down, all the lifters installed, pushrods, and the valves lashed.  Lindy and Cody helped me get the intake torque sequence right so if it leaks I can blame it on them. :)
Next steps are harmonic balancer, water pump, carburetor, alternator, valve covers...  the list goes on and on.
Found out the stock oil pump pickup doesn't fit the road race oil pan I bought so I had to go and buy a new pickup.  Luckily Summit let me return the original pickup.
Also got the oil pan and timing cover finally installed.  The "complete" bolt set I bought from ARP does not include enough bolts for the oil pan.  I could probably call ARP and get the 4 I'm missing, but the original bolts will be just fine.
I had to plug the original dip stick tube hole since it wouldn't work with this new baffled pan.  A 3/8" expansion plug just barely fits in there and should keep oil from escaping through the hole.
I also decided to use a different style of oil filter adapter.  The one that came with the engine is a truck style mount, and while it would have worked I don't like how it holds the filter horizontally instead of vertically.  The one is the car version that hold the filter vertically.


Sunday, January 5, 2014

Oil Pump Installed

I used red locktite on the threads and just loosely attached the pickup.  Once I get the oil pan I'll verify pan to pickup spacing and tighten it up as well.

Cylinder heads installed and torqued

The orientation of the harmonic balancer spacer is backwards...

Bottom end and timing set installed.

I removed the fuel pump eccentric since I'll be using an electric pump.  Two washers lock in the pin and keep it retained.

Friday, December 20, 2013

Piston assembly and installation.


Cam installation followed by crankshaft installation.
3.98" stroke crank and comp cams 280H-10.


Measuring bearing clearances for mains, and rods, and cam.  Clearance for piston to cylinder.  File fitting rings.  It time consuming but everything is within spec.