Saturday, January 24, 2015

More Wiring and Sheetmetal

Now it's time to really start connecting things
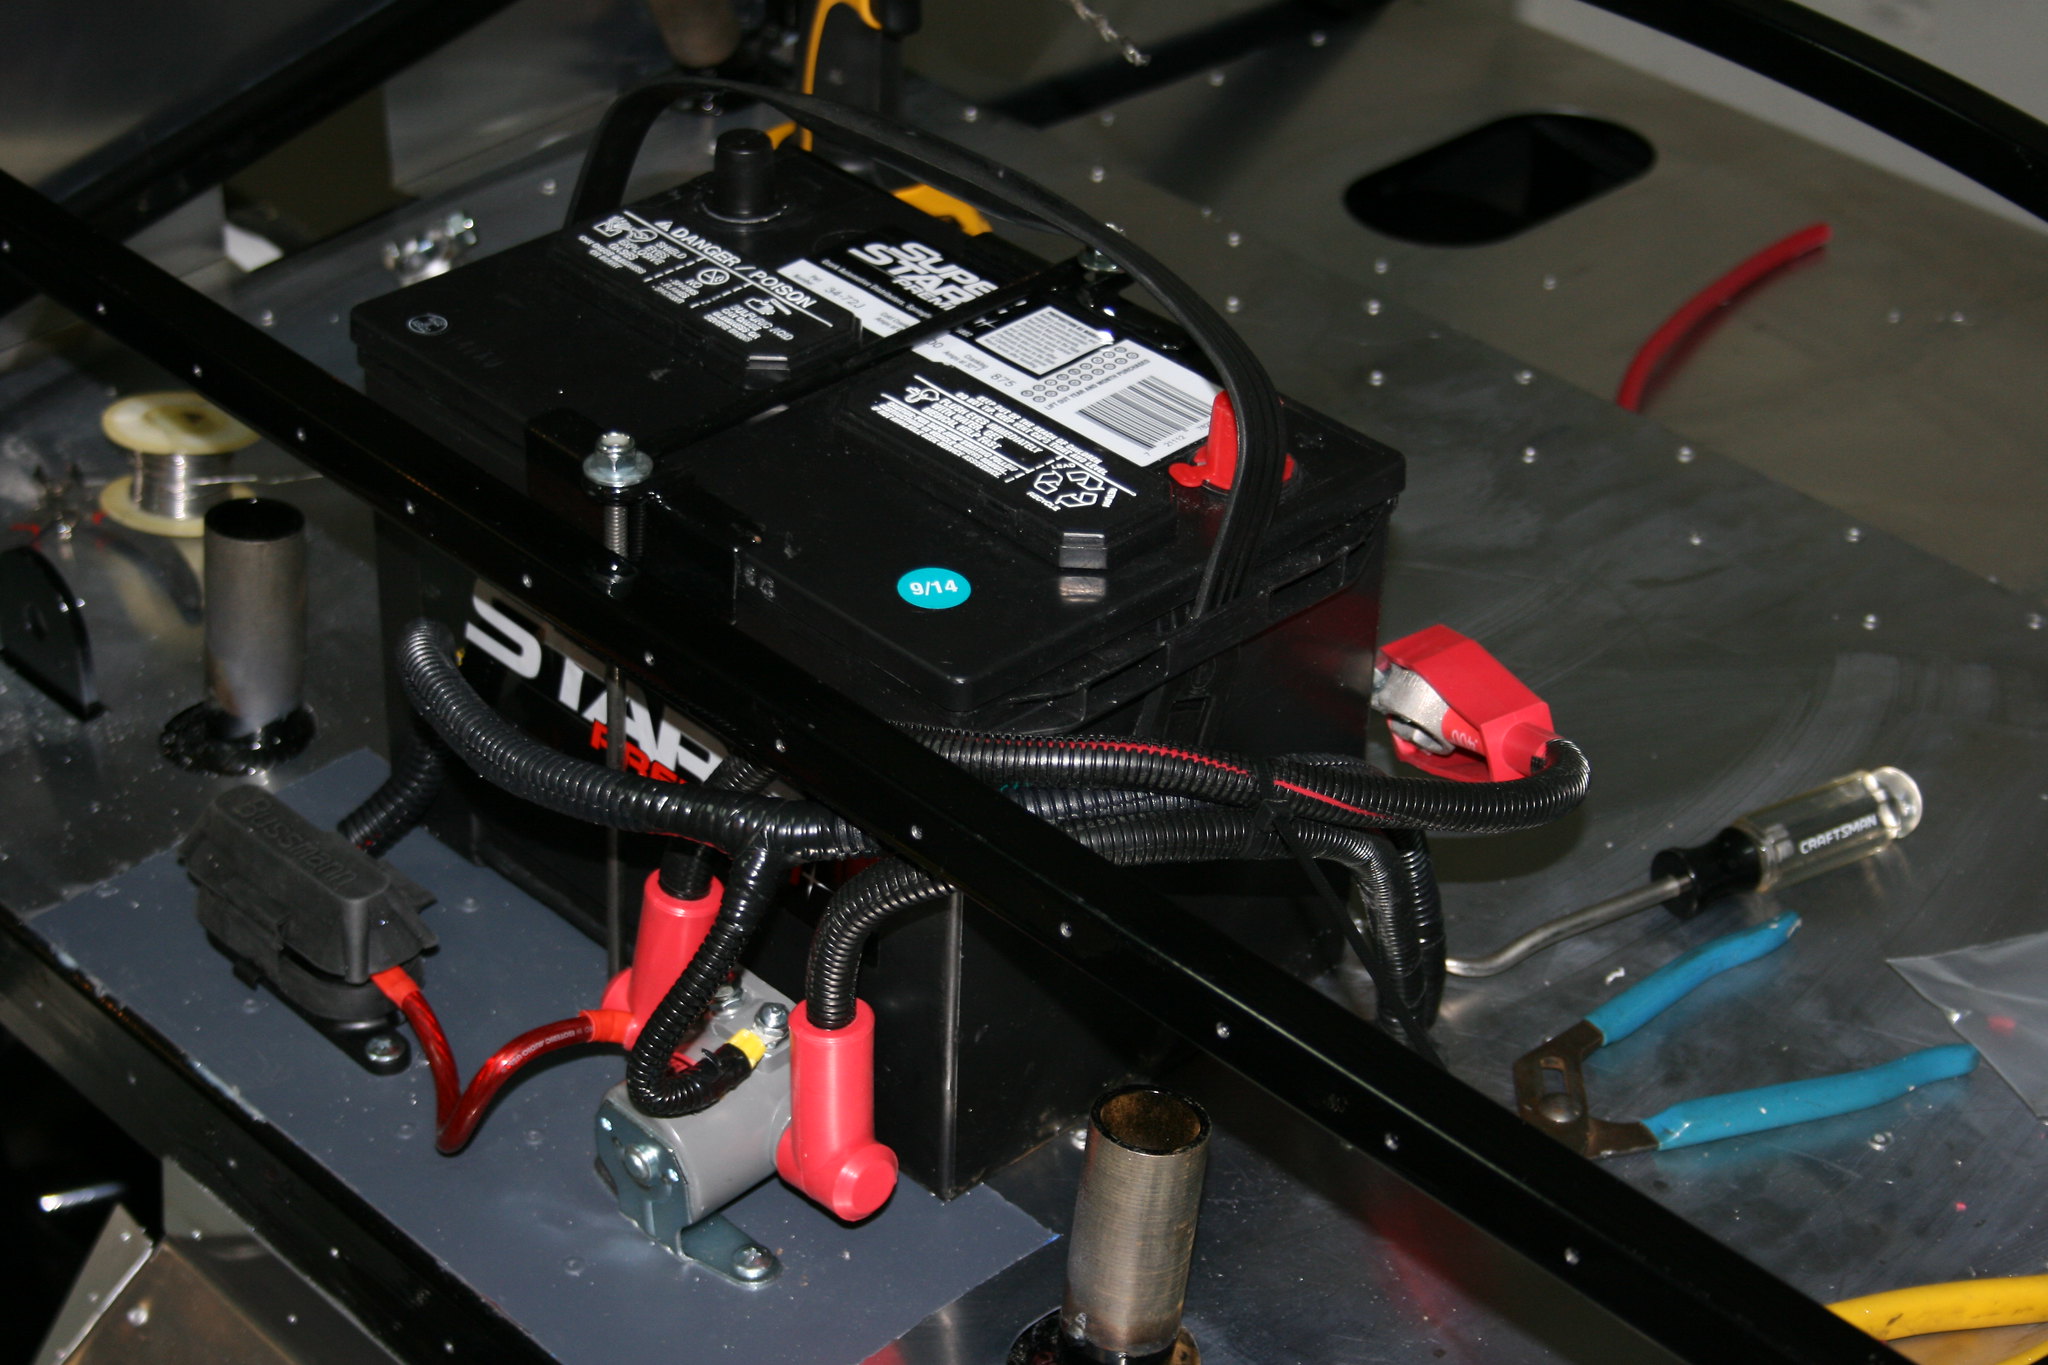
I decided that I'd change the wiring a bit.  The starter solenoid is generally located in the engine bay and that would have been fine, but I didn't like the idea of running a large gauge un-fused power cable from the battery in the trunk to the starter solenoid in the engine compartment.
So, I decided to move the solenoid to the trunk with the battery.  This allowed me to keep the un-fused portion short and also incorporate a Mega fuse to feed power to the fuse block under the dash.
I did a little research on batteries and the one I got was one of the shortest height I could find.  There's not much room in the trunk, so I need a battery that's short and stout.
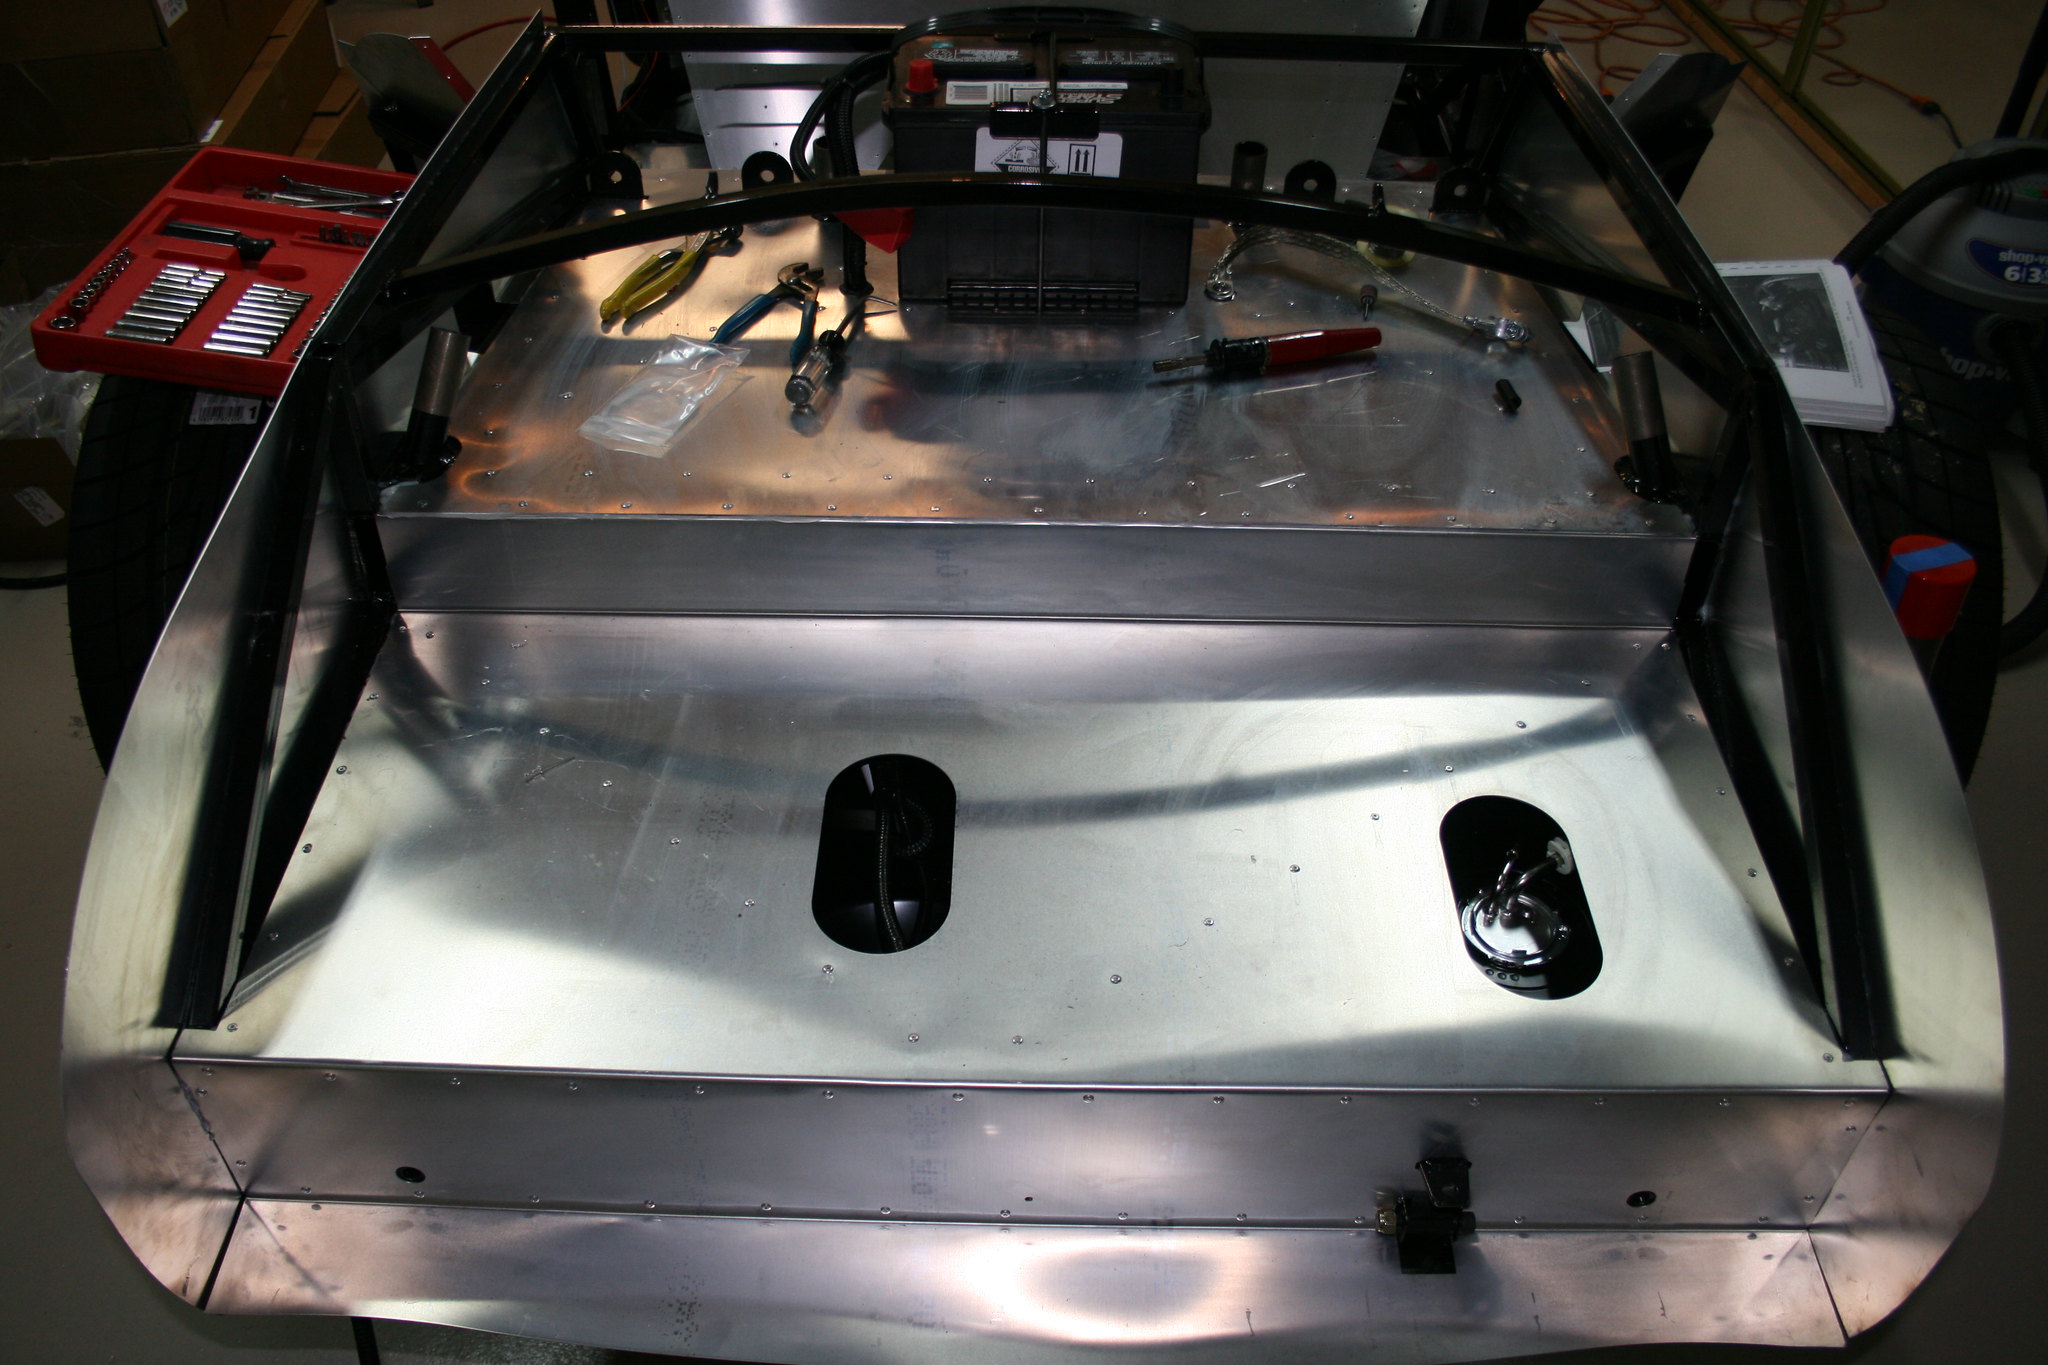
I also attached the majority of the remaining truck sheet metal.

Engine Install!

With the engine and transmission all assembled it was time to put it in the car.  First I had to attach the engine mounts to the engine.  Once I had them attached I had to figure out how I was going to safely attach nearly 1000lbs to the engine hoist.  I ended up using 2 bolts where the bellhousing attached and 2 bolts at the front of the engine.  With that figured out the rest was pretty easy actually.  The load leveler let me change the angle and the hoist did all the hard work.

Wires and Drivetrain

Next I decided to lay in some harnessing before assembling and install the engine and transmission.  I loosely laid the harness on the frame attaching it temporarily with zip ties and putting the ends of the harness in the general location where they'd be finally attached.

Once I was satisfied with the layout I started assembling the engine to the transmission.  First, flywheel and pilot bearing agttach to crankshaft
Then, clutch disc is sandwiched between pressure plate and flywheel.
Then, the clutch fork and throwout bearing are assembled and installed into the bellhousing, and the bellhousing is attached to the engine.  In this application I had to shorten the pivot bolt that the clutch fork attaches to in order to keep the throw out bearing from riding on the pressure plate.
With that all assembled next it was time to attach the transmission to the bellhousing.  I ran into a little trouble at this point because the pressure plate alignment tool could not hold the pressure plate in line with the pilot bearing while I was bolting up the pressure plate,  I ended up using a clamp to actuate the clutch while I installed the transmission so that it could all slide together.