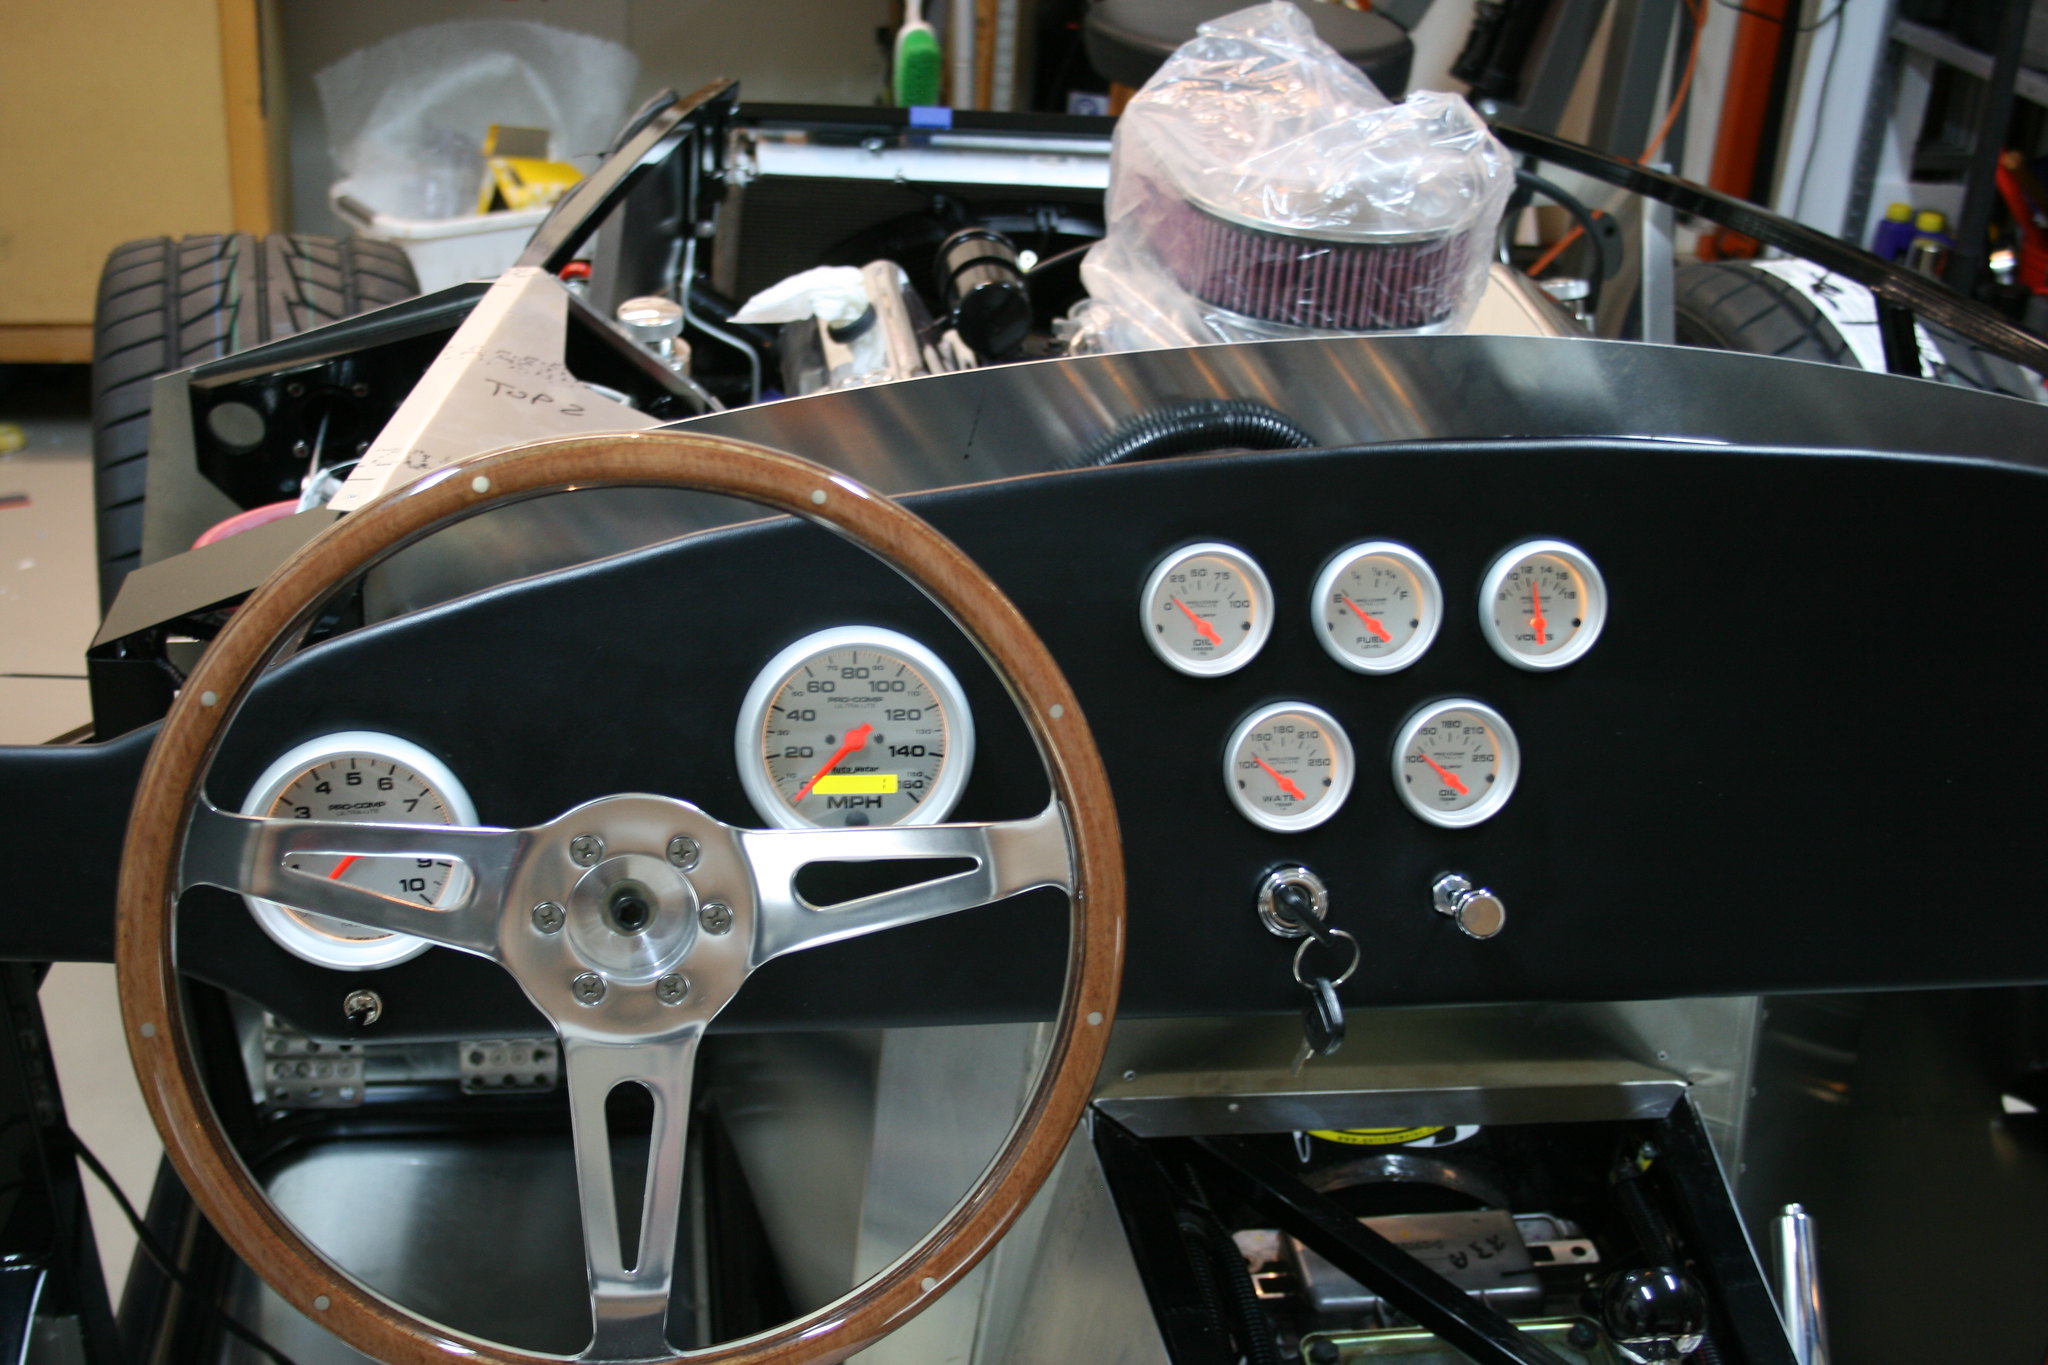
I also decided I didn't like the way they suggest attaching the dash to the frame. Screws through the dash leave screw heads visible on the front of the dash. Since I was trying to keep the dash clean I decided to make some brackets and rivet them to the back of the dash so I could mount it to the frame from behind.
Once I had the layout of all the pieces I cut the holes in the aluminum dash for the switches, attached my brackets and then glued the vinyl cover to the aluminum panel. I used every heavy object I could find in the garage to help ensure the vinyl pad would stay stuck to the aluminum panel.
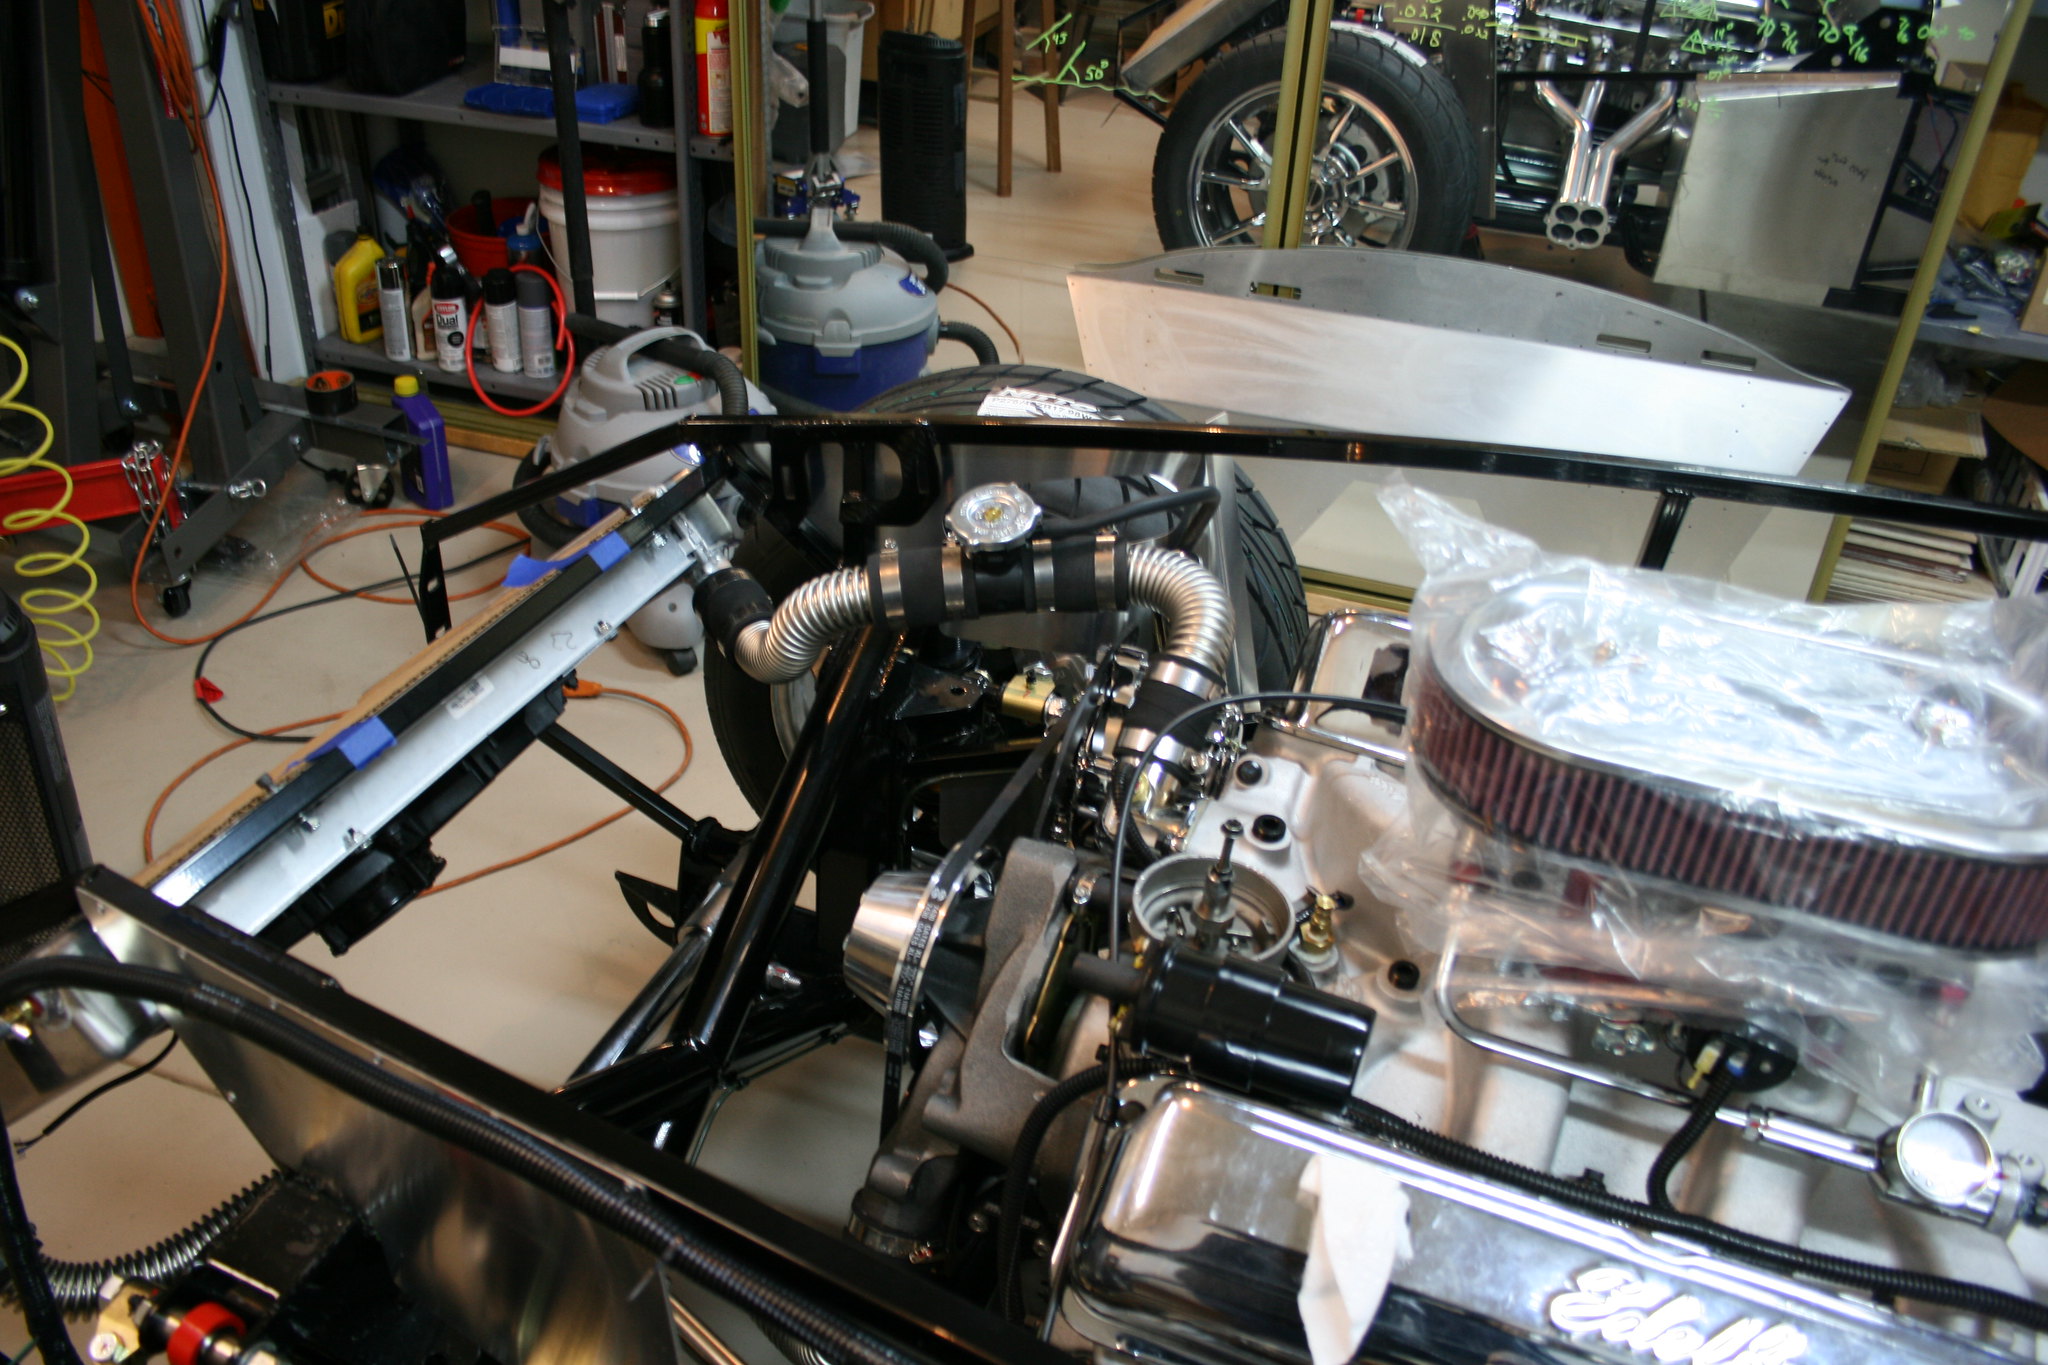
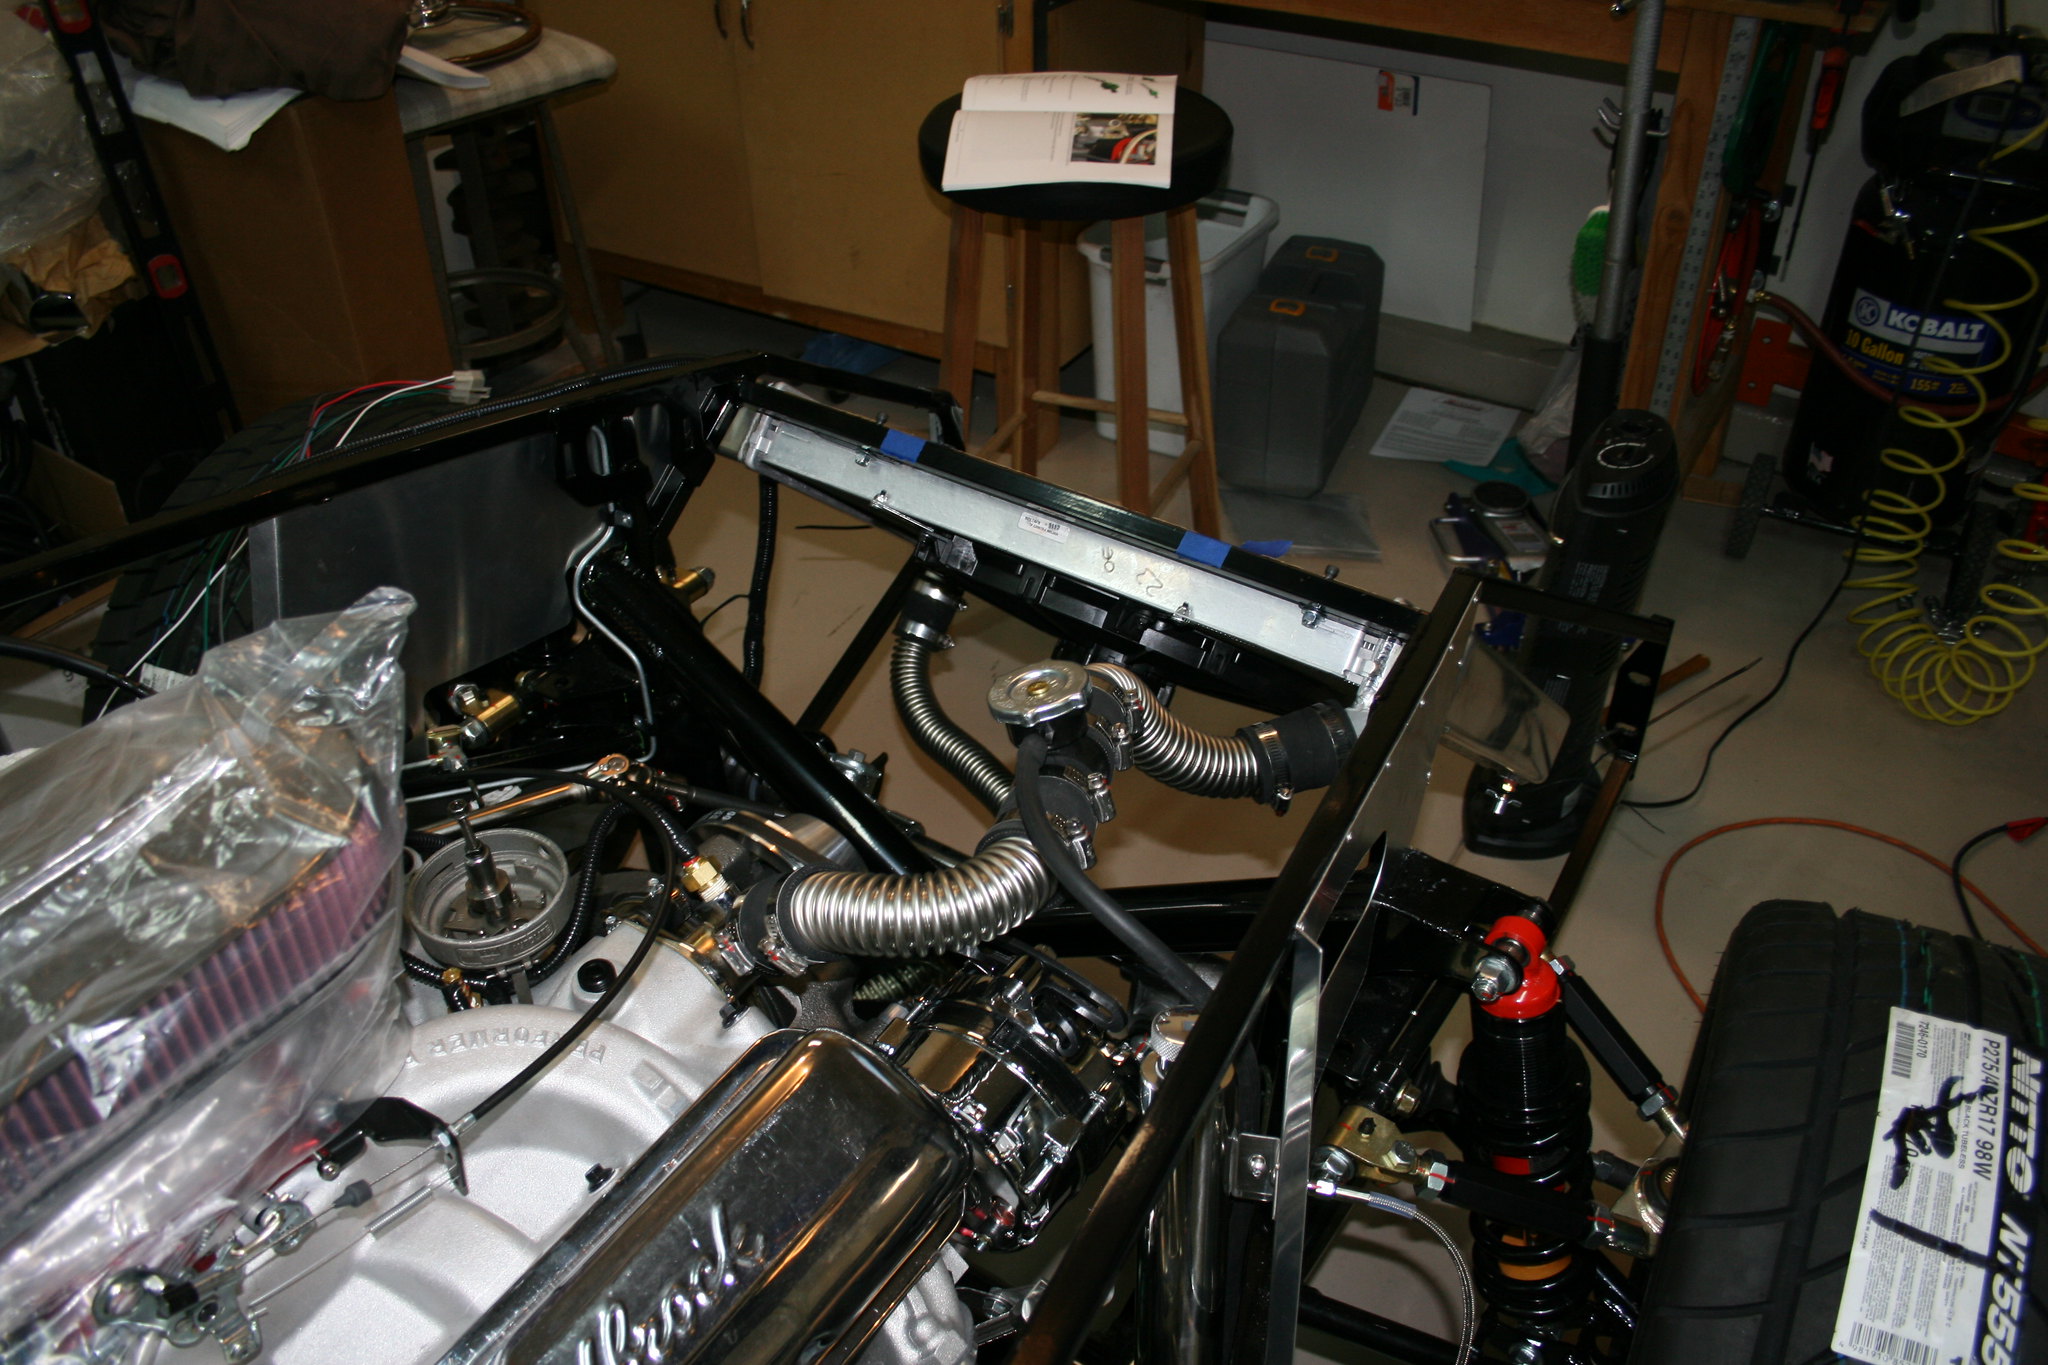
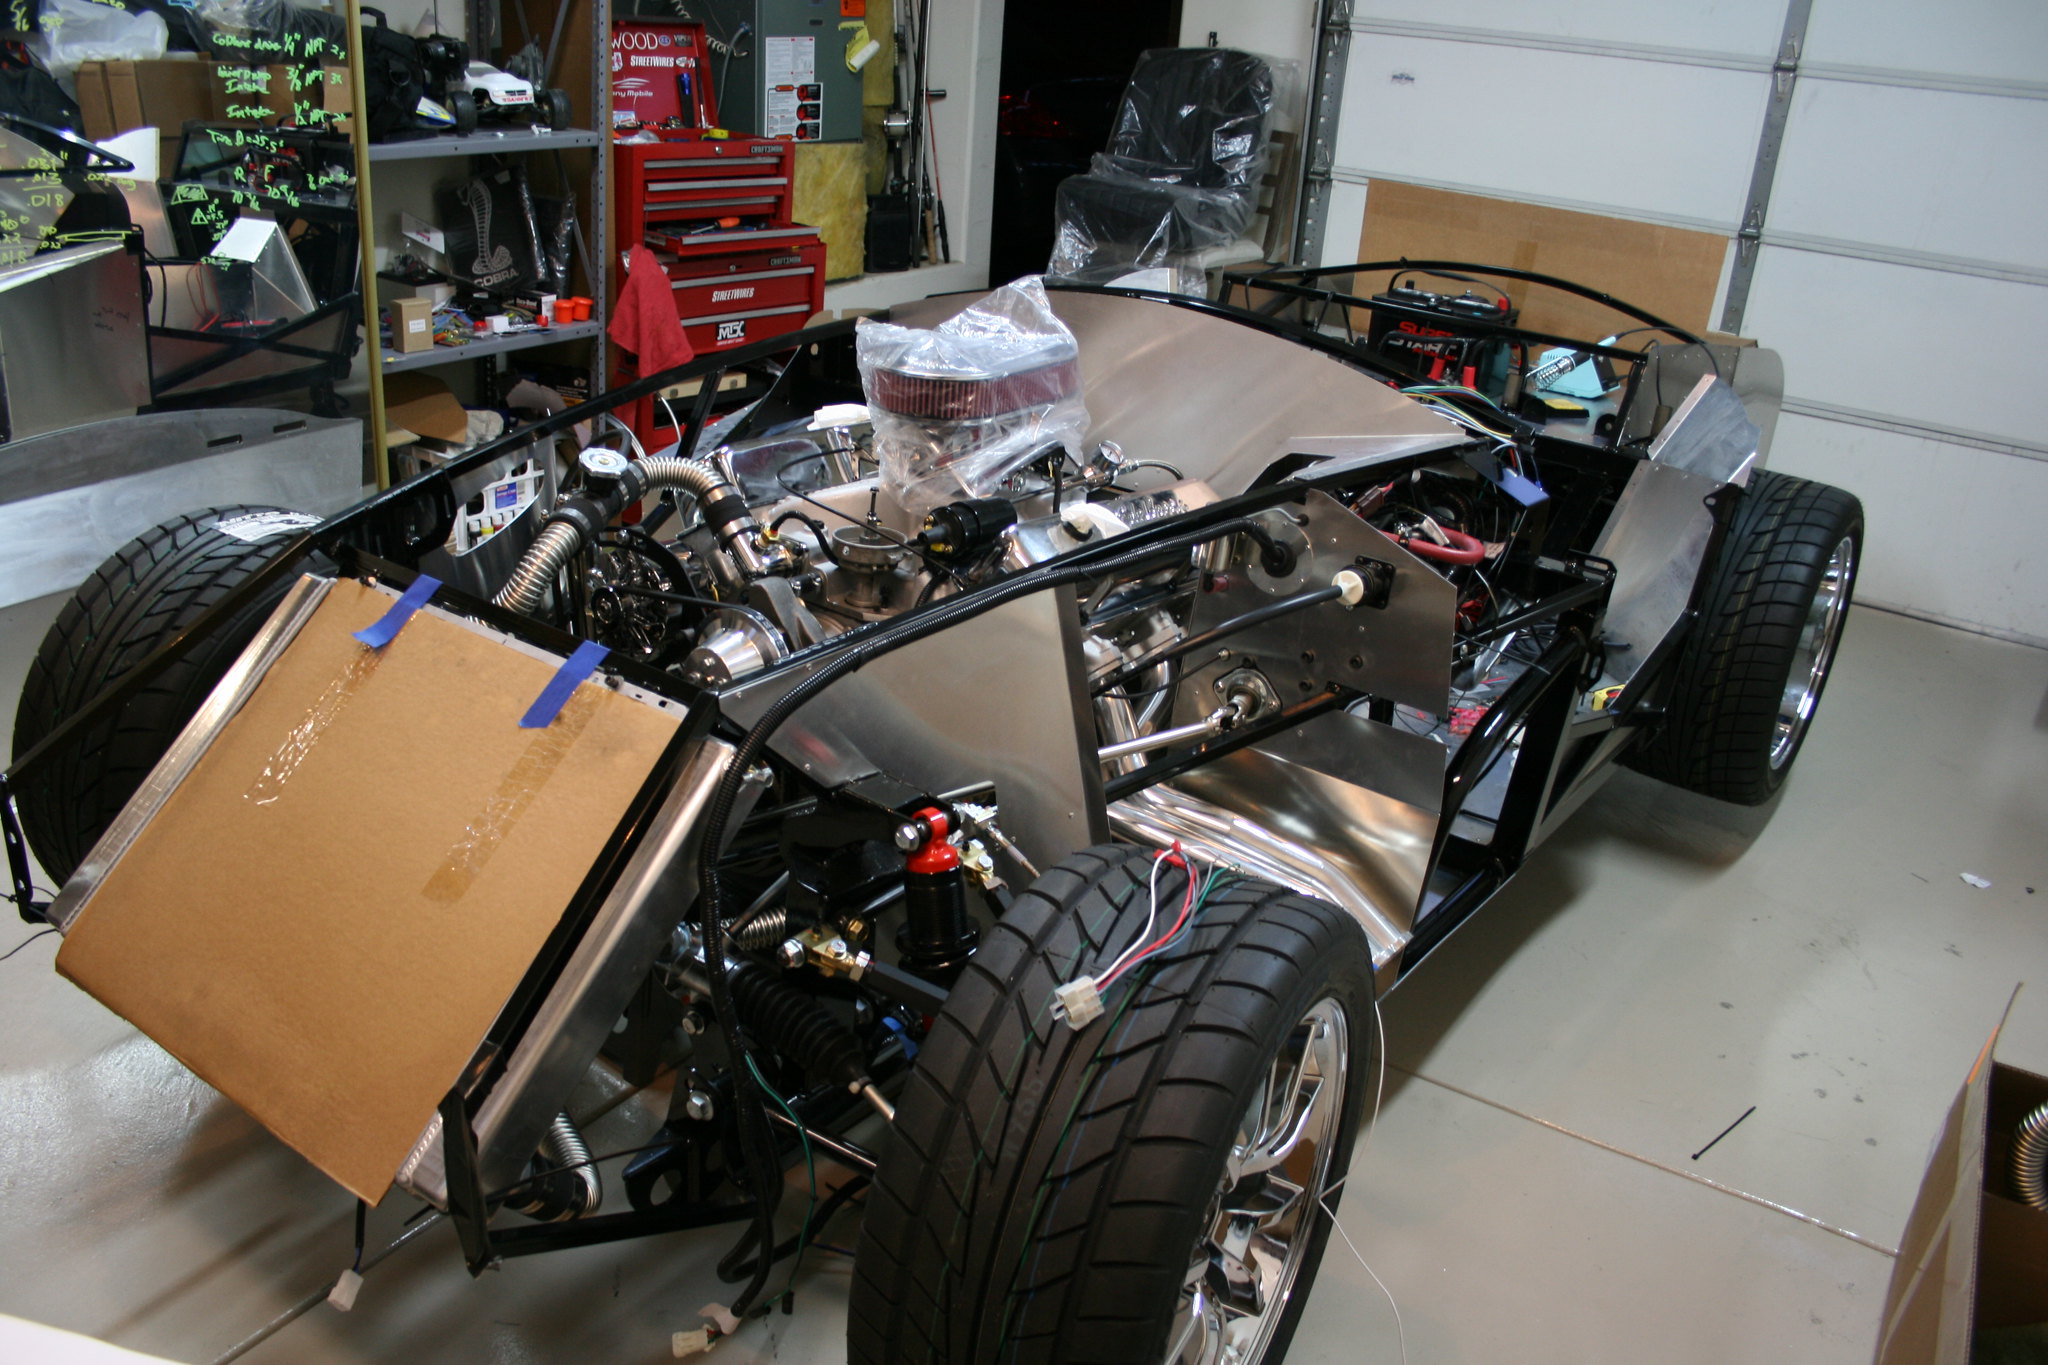
While the dash dried I got to work on the cooling system assembly. I mounted the radiator to the frame and used the supplied hose and fittings to get everything connected. Nothing to difficult here. I still need to find a better attachment for the lower hose to the frame, but the zip tie will hold it for now.
No comments:
Post a Comment